Sunday, October 25, 2015

Tank Mark IV Male Part 3

Well, the first attempt at casting new rear horns didn't work:

So I tried again, making a new mould with Oyumaru (good job it's reusable) and this time filling it with Milliput because I have run out of Green Stuff.

This time it was good enough, so I went ahead with the transplant. It doesn't look fantastic like everybody else's work, but I am actually really happy with it:

Sunday, October 11, 2015

Tank MkIV Male Part 2

Emhar on top, Master Box on bottom.

The MkI and MkIV used the same engine and transmission, therefor these should be identical from the sponson opening rearwards. The Master Box is accurate in terms of where the gear spindles (the four circles) are placed; the Emhar is off.

Ordinarily I wouldn't bother to correct the Emhar, but I may display this one alongside a MkI, so I thought I'd experiment. I used Oyumaru to make the mould.

Sunday, October 4, 2015

Tank Mark IV Male

Thought I'd make another MkIV Male. I only have one other and it's from years ago:
As you can see, it's a bit beaten up, but, surprisingly, it doesn't look as bad as I thought it did. I used the Matador Models sponsons on that one because, as we all know, the Emhar sponsons are the wrong shape.

On this new one I decided to use the sponsons from Mister X Models. The Emhar gun barrels have been sanded to remove mould lines and the ends drilled out. The gun shields have been cut to fit the Mister X sponsons. Some plastic strip has been used to fill the hole that the gun pokes through; another fault with the Emhar kit.

There are a number of problems with the Emhar MkIV; the sponsons are just the first.

To be continued.

Saturday, June 27, 2015

Austin-Putilov Armoured Car by Strelets

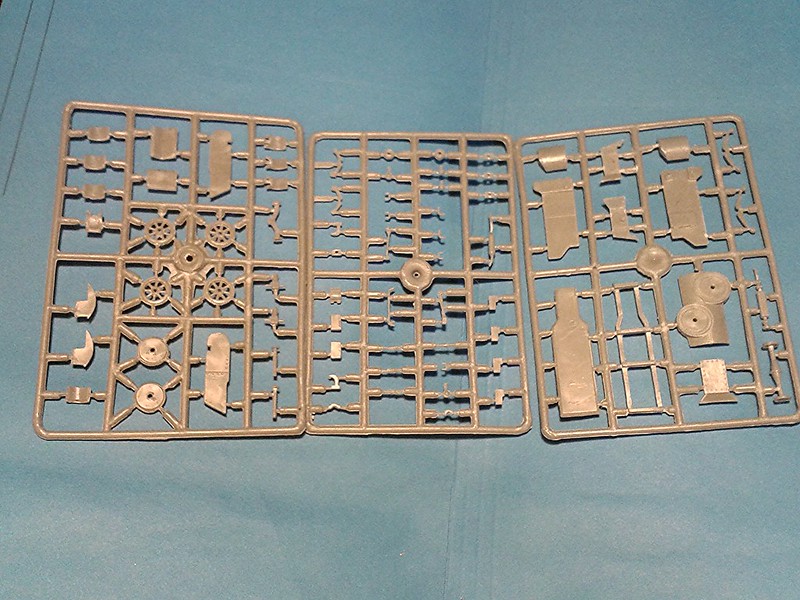
This is a plastic kit, consisting of 3 sprues with some 50,000,000 pieces! It comes in a full-colour cardboard box that has what passes for instructions on it. Also in the box is one sprue of Strelets WW1 Russian Infantry in Winter Clothing (reviewed on Plastic Soldier Review, here). First glance - there's a lot of parts, they are not very crisply molded, and the assembly instructions (really just a couple of pictures on the box) are inadequate (to say the least). On second glance, you might notice everything is quite flat, ie this is a flat, somewhat 2D mold. The plastic is a hard plastic, but it flakes easily and sands very quickly; which is just as well because there is a lot of filing needed. There are no decals, and only the box art to suggest how to paint the model if you complete it.

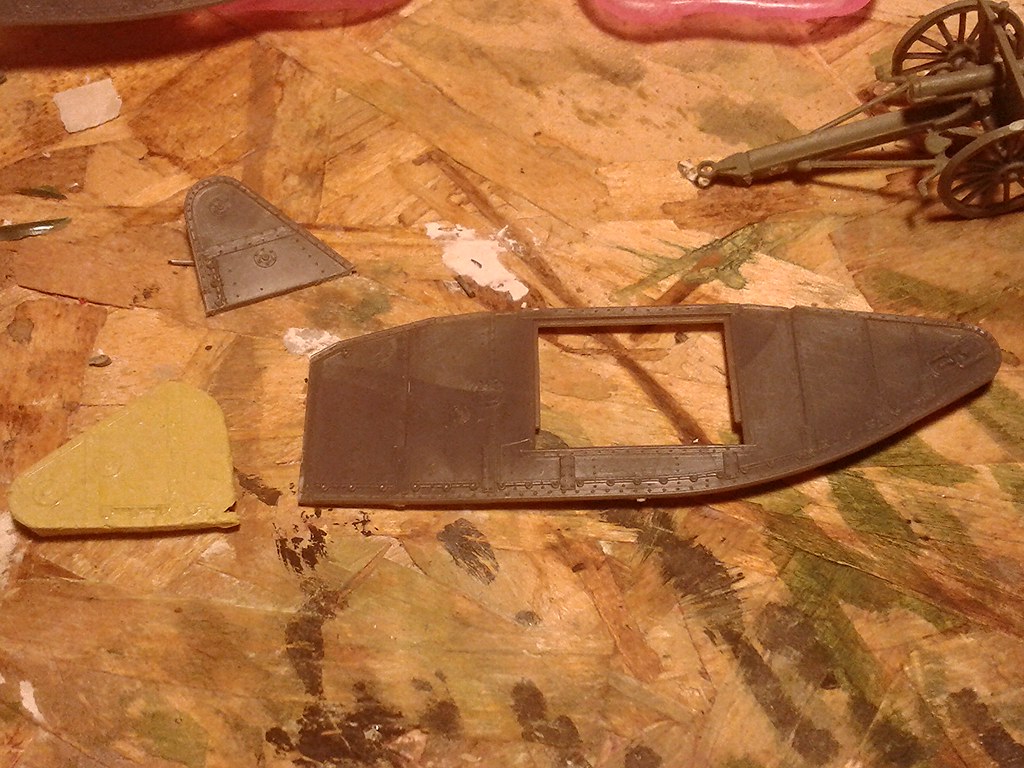
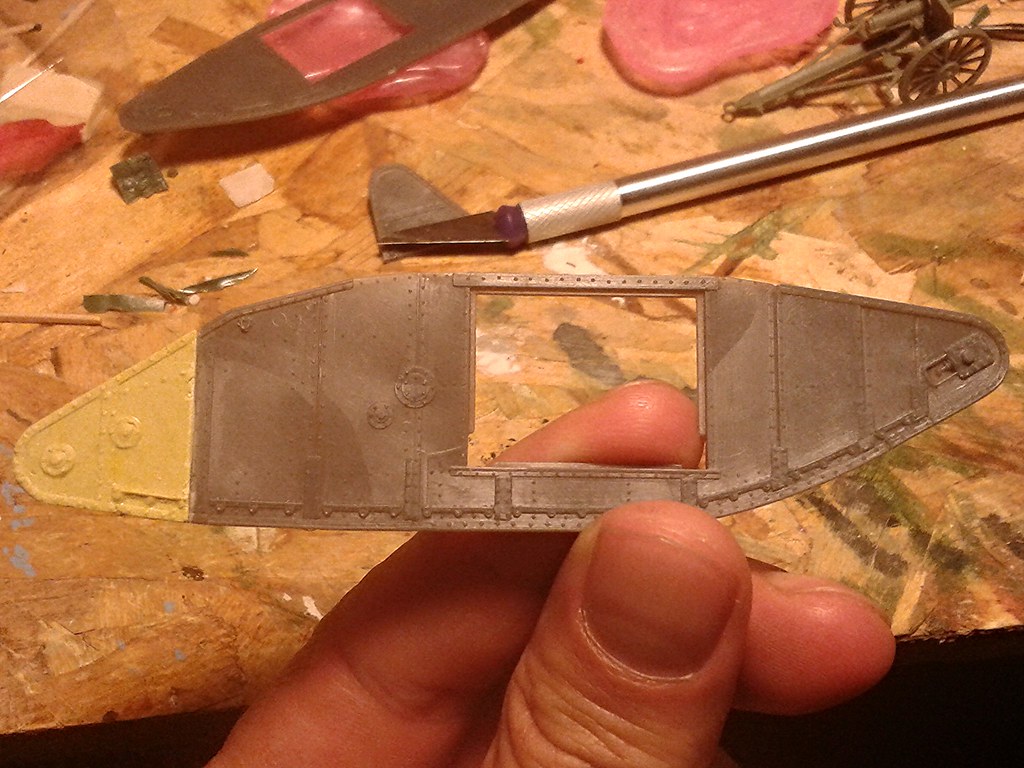
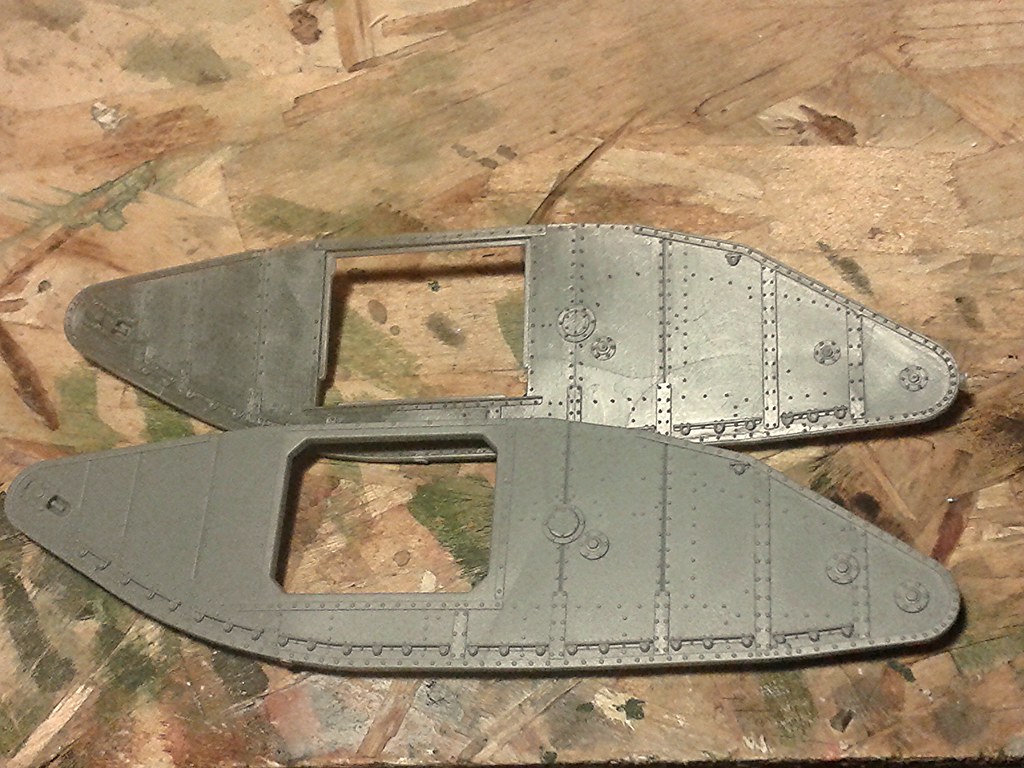
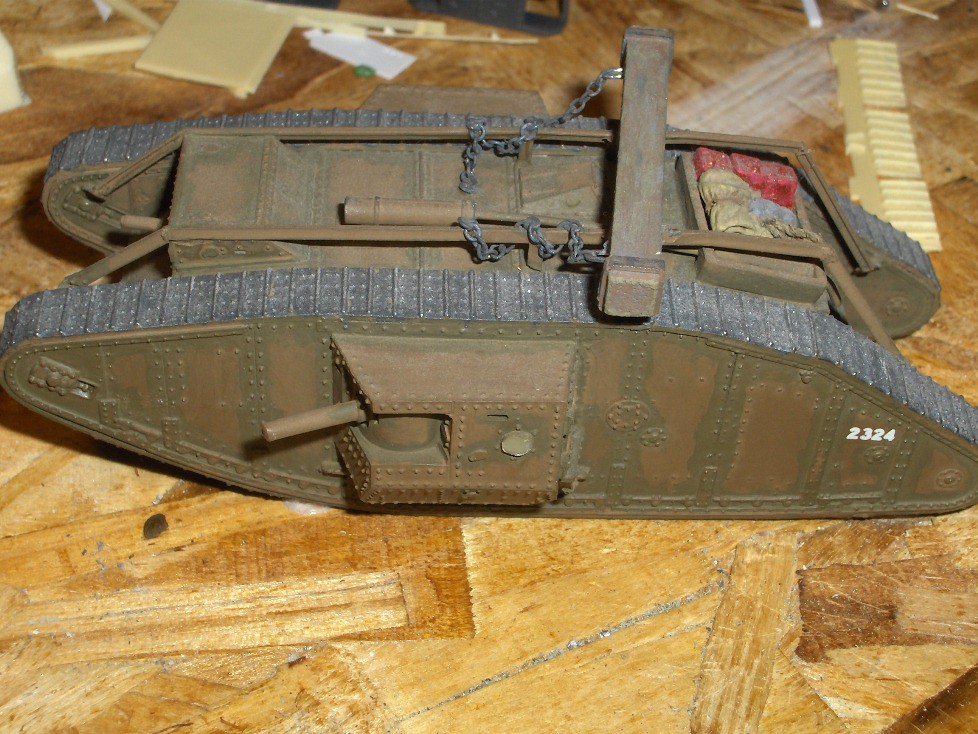
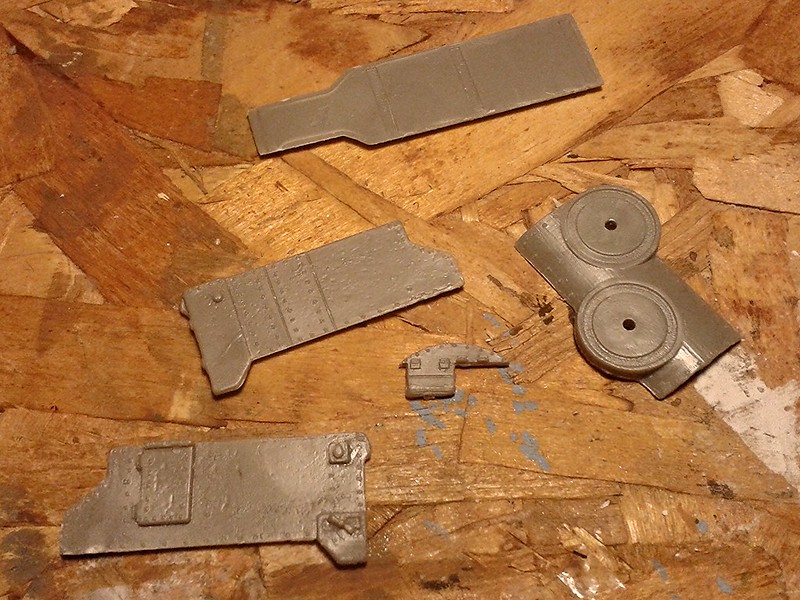
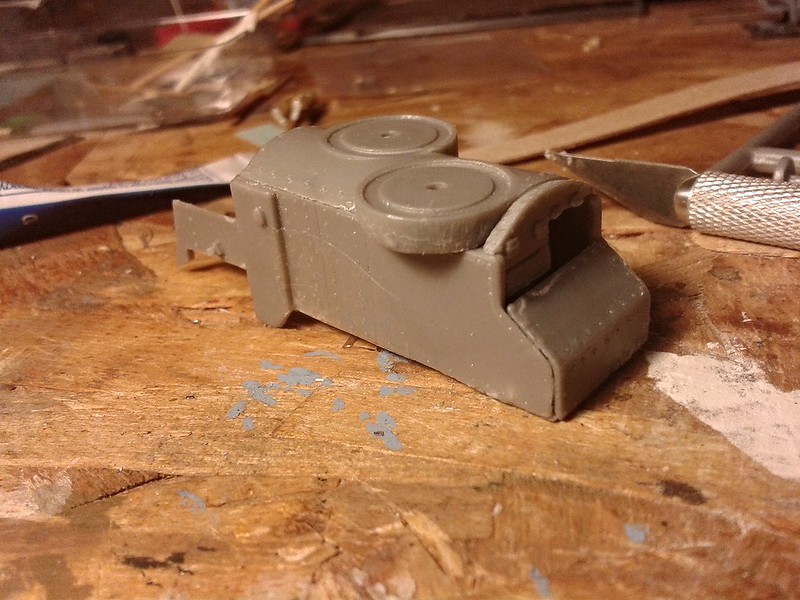
The main body is made up of some 10 parts. There are no location lugs, just a beveled edge, and all parts have a seam through the middle (2-part mold?). Some parts are slightly warped, which leads to the inevitable consequence: the parts do not go together easily or well.

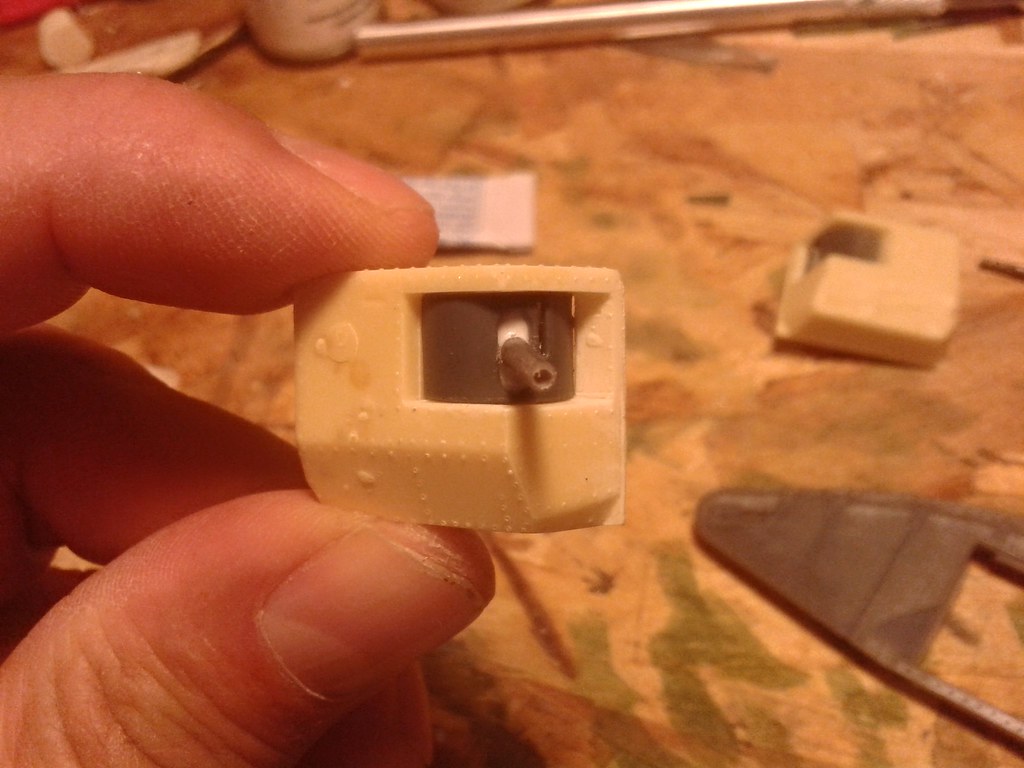
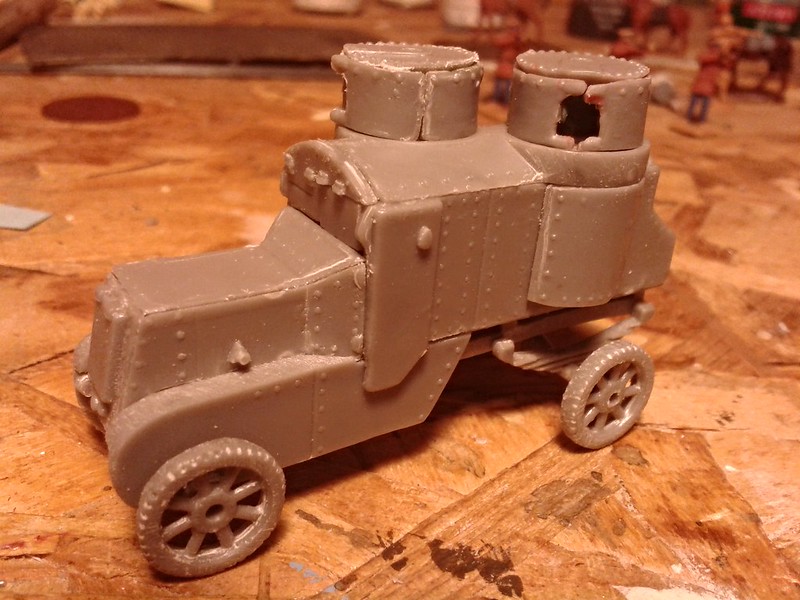
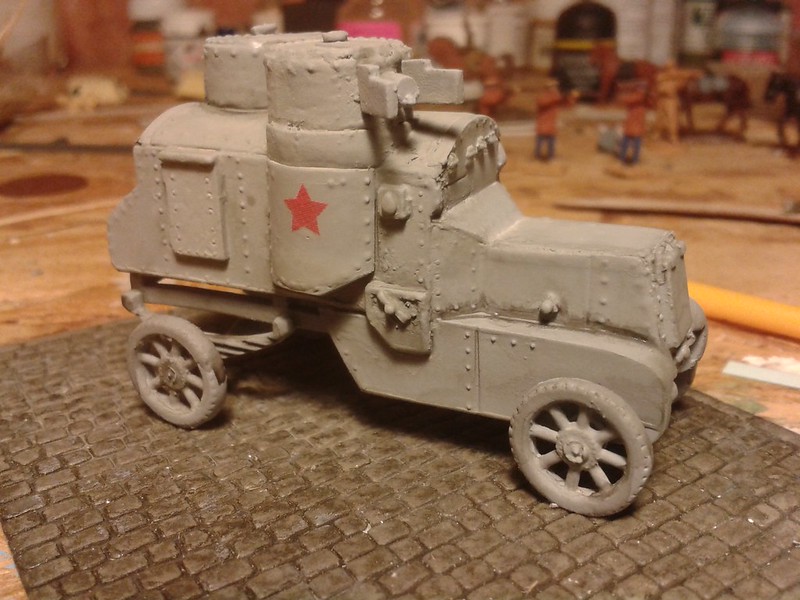
Some features of the mold are intensely annoying, such as the turrets. Each turret is made from 5 pieces of plastic and should have the MG inserted before being assembled. The MG sits in 2 brackets and then, on the outside, 2 shields need to go beside the protruding MG. Then there is a large "pin" to hold the turret on, so it can swivel. That makes 11 parts per turret, and each part has mold lines through the middle and no location lugs anywhere. What do you think the chances are of getting everything to line up nicely! The only excuse I can think of for designing the mold this way, is so that the sprues are relatively flat, but I would gladly pay more for a kit where the cylindrical turrets are molded as one piece.

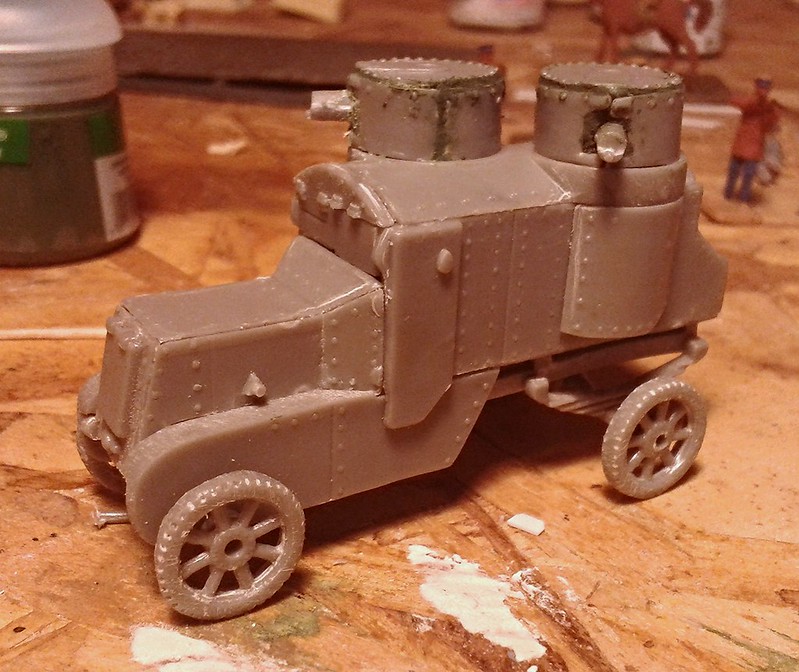
Details are exaggerated, with some way oversized. The Maxim machine guns are too short and too fat. Because there are no location lugs, the placement of parts during assembly requires use of The Force. Computer generated views of the model are on the box, and you are also invited to look at more of such views on Strelets' website, here. However, there are many small parts on the 3 sprues that are simply not visible in any of the pictures, so I just left them on the sprue and it doesn't seem to have made any difference. With no instructions and no view of where these parts should go, I was left wondering why Strelets bothered to include them.

In conclusion, I'm sorry to say, the poor quality molding of the many parts, and the lack of an assembly sequence makes building this kit a torturous, frustrating and irritating process which ultimately doesn't seem worth the effort.

Thursday, January 1, 2015

New Year Resolutions

I don't really do " the resolution thing". But just for the Hell of it and because nobody is reading this anyway, here are some of the things buzzing around my brain, that might be called resolutions.

I will try to make one kit a month. By that mean I will try to finish one project a month. Make the kit, paint it, put any decals on, weather it, and call it finished. Or de-sprue, de-flash, convert if necessary, paint the figures, and call it finished. Whatever the project, I will try to get it done in a month. One per month, for 12 months.

I will finish all the unfinished projects my Secret Room has accumulated!

I will not post or contribute to Landships for the whole month of January. Landships is nothing like the Landships Peter Kempf started:

a place for military modelling, in small scale, the vehicles and artillery of The Great War.

I feel like I've lost an old friend, and I've held out hope that Landships might get good again, but it seems it's dead. Let's see what a month of breathing space can do for me.