Sunday, October 25, 2015

Tank Mark IV Male Part 3

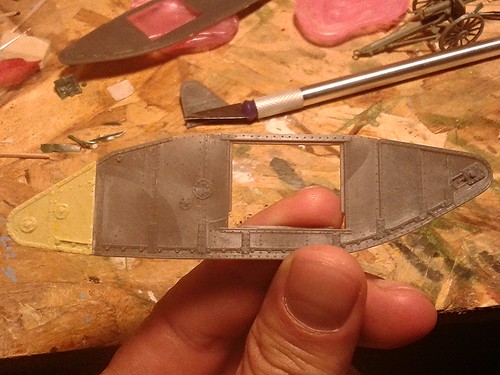
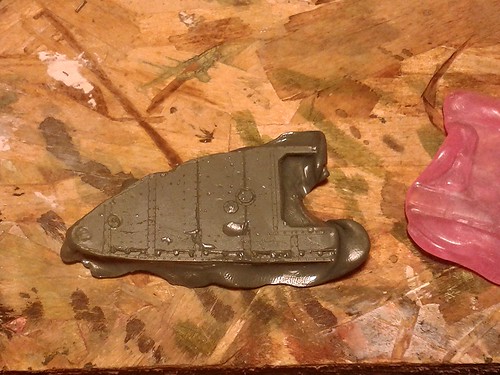
Well, the first attempt at casting new rear horns didn't work:

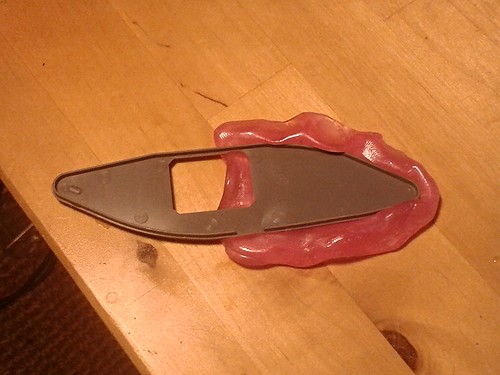
So I tried again, making a new mould with Oyumaru (good job it's reusable) and this time filling it with Milliput because I have run out of Green Stuff.

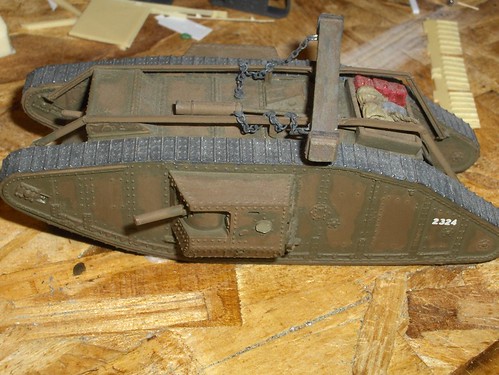
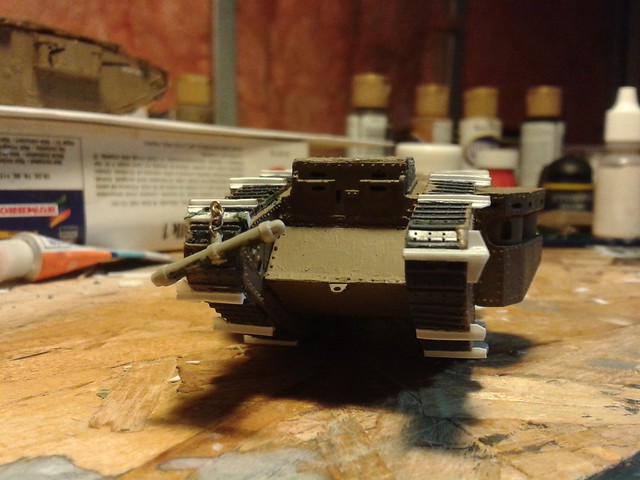
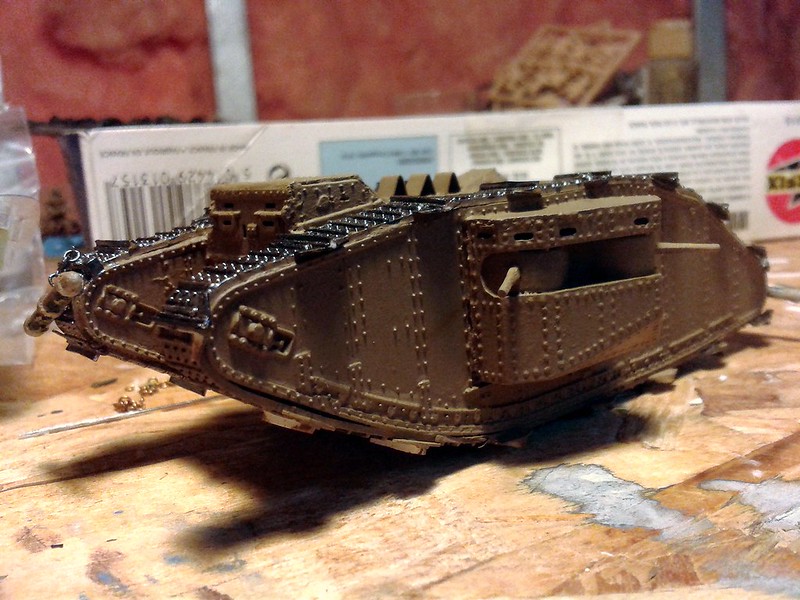
This time it was good enough, so I went ahead with the transplant. It doesn't look fantastic like everybody else's work, but I am actually really happy with it:

Sunday, October 11, 2015

Tank MkIV Male Part 2

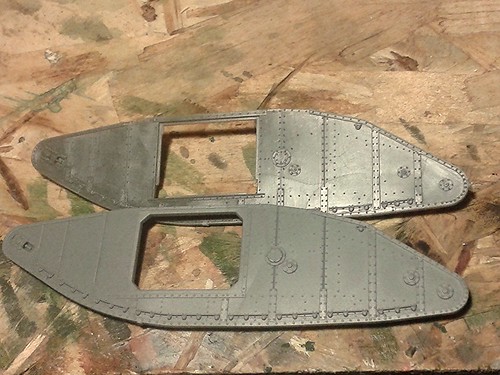
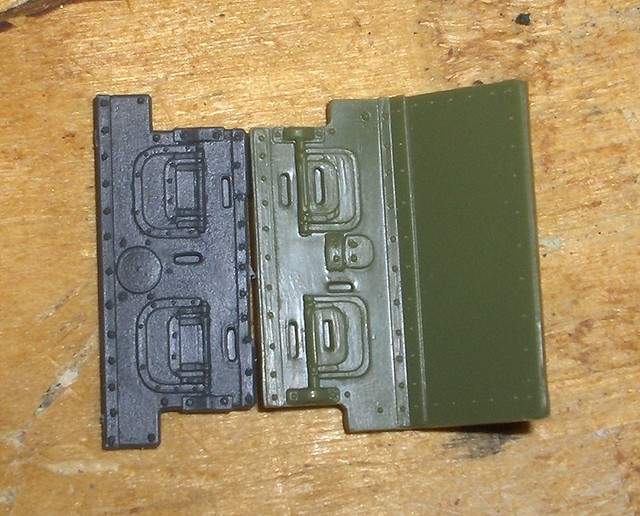
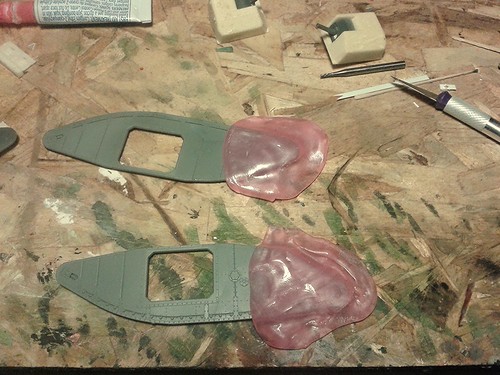
Emhar on top, Master Box on bottom.

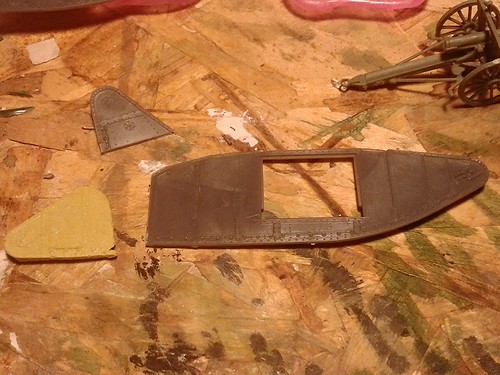
The MkI and MkIV used the same engine and transmission, therefor these should be identical from the sponson opening rearwards. The Master Box is accurate in terms of where the gear spindles (the four circles) are placed; the Emhar is off.

Ordinarily I wouldn't bother to correct the Emhar, but I may display this one alongside a MkI, so I thought I'd experiment. I used Oyumaru to make the mould.

Sunday, October 4, 2015

Tank Mark IV Male

Thought I'd make another MkIV Male. I only have one other and it's from years ago:
As you can see, it's a bit beaten up, but, surprisingly, it doesn't look as bad as I thought it did. I used the Matador Models sponsons on that one because, as we all know, the Emhar sponsons are the wrong shape.

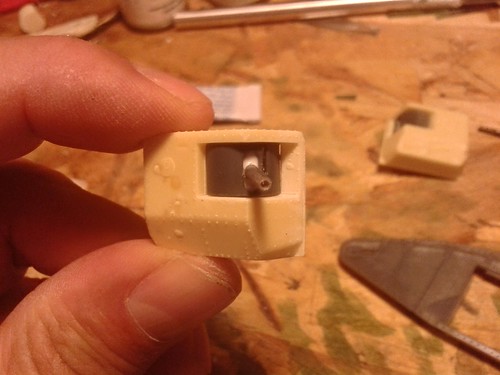
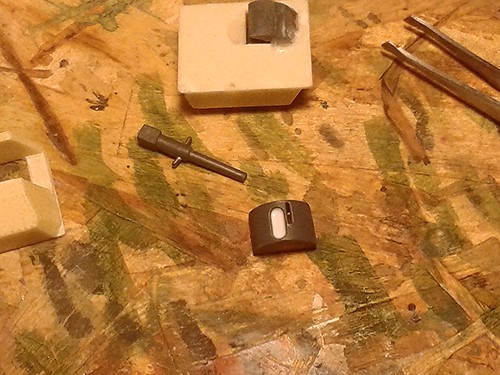
On this new one I decided to use the sponsons from Mister X Models. The Emhar gun barrels have been sanded to remove mould lines and the ends drilled out. The gun shields have been cut to fit the Mister X sponsons. Some plastic strip has been used to fill the hole that the gun pokes through; another fault with the Emhar kit.

There are a number of problems with the Emhar MkIV; the sponsons are just the first.

To be continued.

Saturday, June 27, 2015

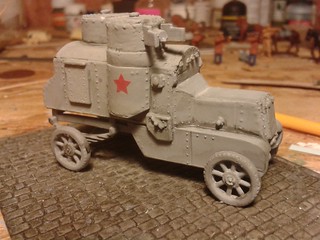
Austin-Putilov Armoured Car by Strelets

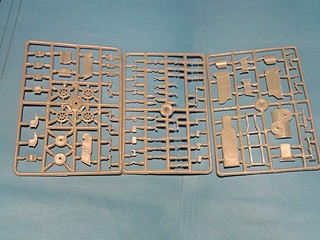
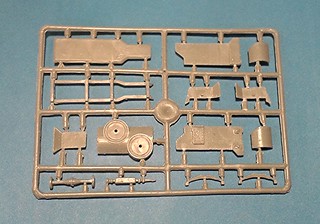
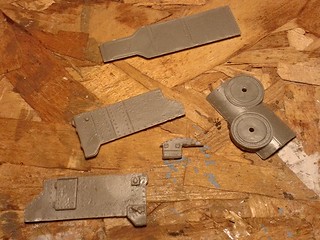
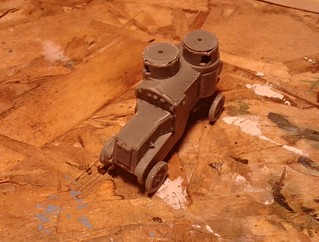
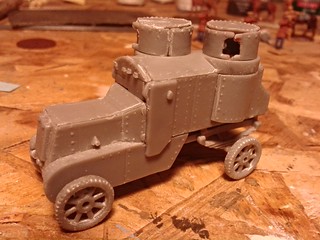
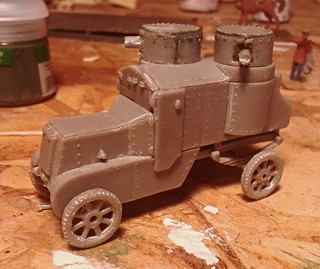
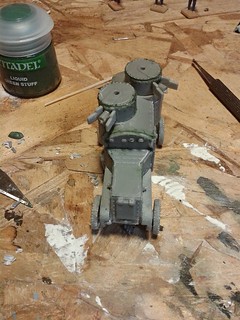
This is a plastic kit, consisting of 3 sprues with some 50,000,000 pieces! It comes in a full-colour cardboard box that has what passes for instructions on it. Also in the box is one sprue of Strelets WW1 Russian Infantry in Winter Clothing (reviewed on Plastic Soldier Review, here). First glance - there's a lot of parts, they are not very crisply molded, and the assembly instructions (really just a couple of pictures on the box) are inadequate (to say the least). On second glance, you might notice everything is quite flat, ie this is a flat, somewhat 2D mold. The plastic is a hard plastic, but it flakes easily and sands very quickly; which is just as well because there is a lot of filing needed. There are no decals, and only the box art to suggest how to paint the model if you complete it.

The main body is made up of some 10 parts. There are no location lugs, just a beveled edge, and all parts have a seam through the middle (2-part mold?). Some parts are slightly warped, which leads to the inevitable consequence: the parts do not go together easily or well.

Some features of the mold are intensely annoying, such as the turrets. Each turret is made from 5 pieces of plastic and should have the MG inserted before being assembled. The MG sits in 2 brackets and then, on the outside, 2 shields need to go beside the protruding MG. Then there is a large "pin" to hold the turret on, so it can swivel. That makes 11 parts per turret, and each part has mold lines through the middle and no location lugs anywhere. What do you think the chances are of getting everything to line up nicely! The only excuse I can think of for designing the mold this way, is so that the sprues are relatively flat, but I would gladly pay more for a kit where the cylindrical turrets are molded as one piece.

Details are exaggerated, with some way oversized. The Maxim machine guns are too short and too fat. Because there are no location lugs, the placement of parts during assembly requires use of The Force. Computer generated views of the model are on the box, and you are also invited to look at more of such views on Strelets' website, here. However, there are many small parts on the 3 sprues that are simply not visible in any of the pictures, so I just left them on the sprue and it doesn't seem to have made any difference. With no instructions and no view of where these parts should go, I was left wondering why Strelets bothered to include them.

In conclusion, I'm sorry to say, the poor quality molding of the many parts, and the lack of an assembly sequence makes building this kit a torturous, frustrating and irritating process which ultimately doesn't seem worth the effort.

Thursday, January 1, 2015

New Year Resolutions

I don't really do " the resolution thing". But just for the Hell of it and because nobody is reading this anyway, here are some of the things buzzing around my brain, that might be called resolutions.

I will try to make one kit a month. By that mean I will try to finish one project a month. Make the kit, paint it, put any decals on, weather it, and call it finished. Or de-sprue, de-flash, convert if necessary, paint the figures, and call it finished. Whatever the project, I will try to get it done in a month. One per month, for 12 months.

I will finish all the unfinished projects my Secret Room has accumulated!

I will not post or contribute to Landships for the whole month of January. Landships is nothing like the Landships Peter Kempf started:

a place for military modelling, in small scale, the vehicles and artillery of The Great War.

I feel like I've lost an old friend, and I've held out hope that Landships might get good again, but it seems it's dead. Let's see what a month of breathing space can do for me.

Sunday, December 28, 2014

Tank Mark II

In the last month or two, Master Box have released a 1/72 Mark II Male and it seems they will soon be releasing the Female of the species. However, I made this model before their release. I did it for a number of reasons:

  • I wanted a 1/72 Tank Mark II, not a 1/76 like you get if you convert the Airfix
  • I noticed the Airfix and Emhar cab fronts are the same size (and they shouldn't be - I don't know who screwed up, Airfix or Emhar)
  • I felt like it
  • I have a large stash of Airfix and Emhar rhomboids just rotting away

Anyways, like I said, I wanted 1/72 so I had to use majority of the Emhar kit with some very noticeable detail changes.

The Cab Front

Both the Mark II and the Mark IV used the Lewis machine gun, but the Mark IV had a very large ball-mount in the centre of the front, whereas the Mark II still had the flap arrangement from the Mark I (the Mark I used Hotchkiss machine guns, and in the front, the commander would push the Hotchkiss out, lifting up a flap as he did so). The vision slits above the flaps are also in different places, they are lower on the Mark II. All this meant that I had to use Airfix's cab front on Emhar's kit. Luckily, and rather bizarrely, these pieces are the same size as each other.

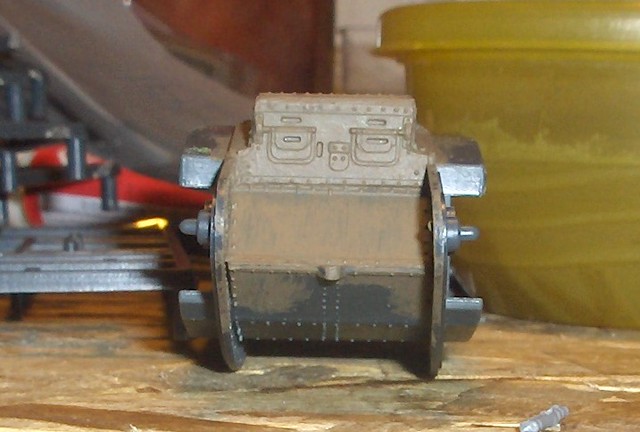

A little bit of Green Stuff and then a quick brush with some paint to make defects easier to see. Doesn't look fantastic, but neither does it look awful.

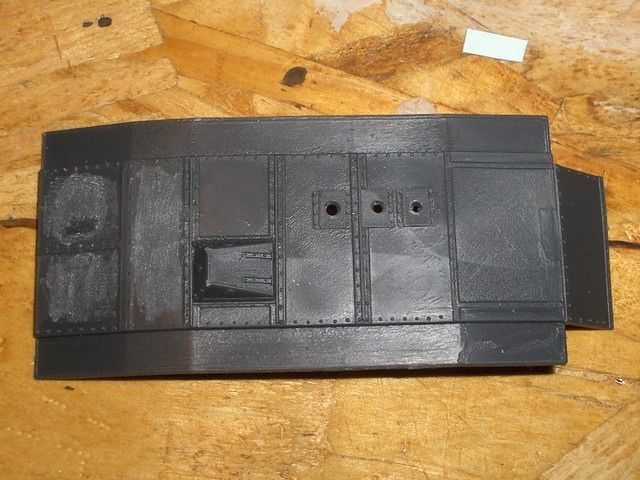
The Roof

The roof needs some work. Way back in the 1960s when Airfix went to the Tank Museum to measure up their tank, it seems they didn't look at the roof. Consequently, down the centre of a panel near the stern, they added a line of bolts that just never existed. Emhar, years later, also went to the Tank Museum to measure up the Mark IV, "Excellent". Emhar faithfully copied all of Excellent's peculiarities, including two small hatches in roof's rear panels. No other tank has these little hatches. Something very strange also happened; Emhar copied Airfix's fictitious line of bolts. That's strange because Emhar must have been able to see the roof, or else how could they copy the two funny little hatches, and yet they didn't see that the line of bolts isn't actually there.

What this means is, I had to do some work on the Emhar roof:

The Rear End

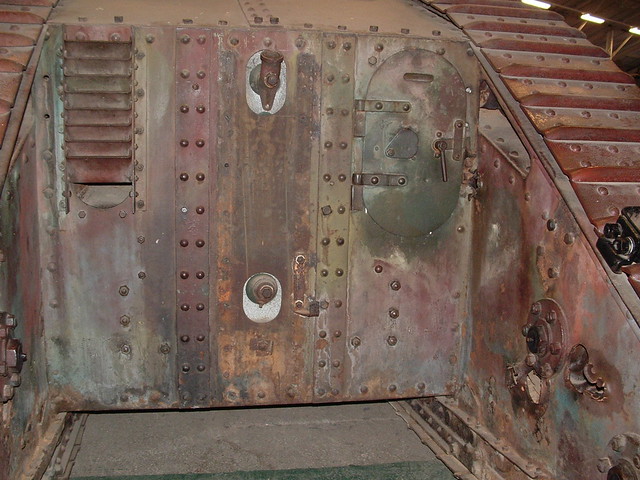
It was soon realised that the tail wheels on the Mark I were almost useless, and they were removed; Mark I tanks fighting at Arras in April 1917 were tail-less. The Mark II was very similar to the Mark I, including having the fuel tanks inside the front horns. This left a big open space at the rear:
It seems from contemporary photos that most Mark II tanks had a large box positioned there, to carry stores, spades, fuel, grease and etc. So I had to make a stowage box. I first tried bending some plastic strip:


But it didn't work out. I then noticed the fuel tank of the Emhar kit is hollow, so I turned it over and used that:
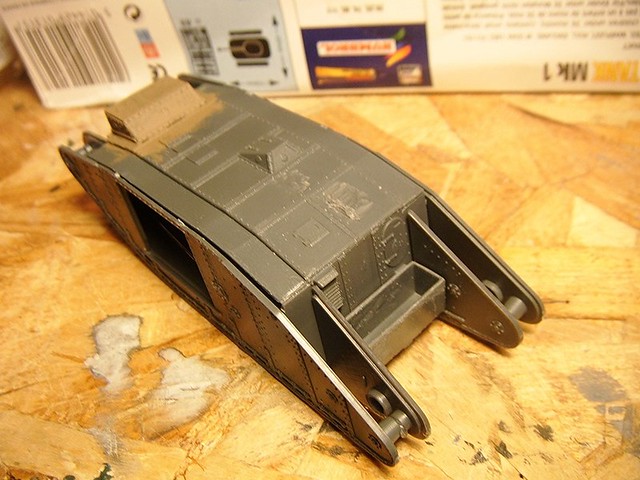

It is larger than the boxes seen in contemporary photos, but maybe this particular crew of this particular tank built their own!

The Sides

The side of a MkIV was identical in appearance to the side of MkII, so the Emhar kit's sides didn't need any work. The sponsons, however, were the same as those on the MkI. I could have used the Airfix sponsons, but I have a little stash of Matador Models ones, so I used a pair of the Female ones. They are slightly too small for the Emhar because they were made for the 1/76 scale Airfix, but I put the gap at the bottom, underneath the sponson, and nobody has noticed it.
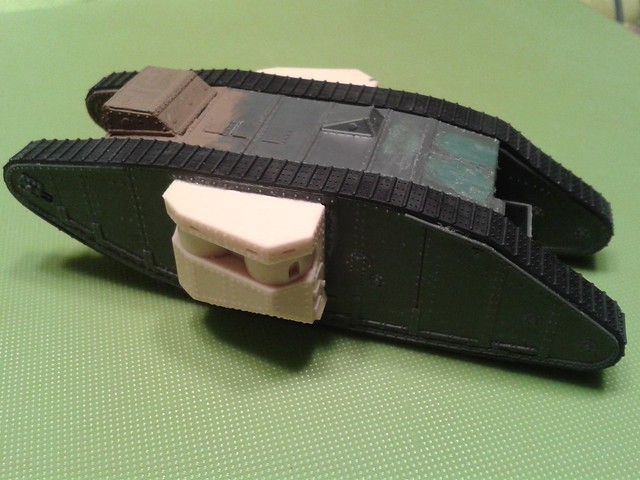

The Matador Models sponsons came with some machine guns, Vickers and Lewis. The Lewis guns don't look very good at all, but they were there, and I've tried and failed to make my own Lewis guns before, so I just used them. Once they were painted, they didn't look too bad. But before I put the guns on (because they are fragile, resin castings) I worked on the tracks.

The Tracks

I don't make enough money to keep buying resin replacement tracks from Matador Models, Mister X, or Modell Trans, so I decided I would use the "rubber band" tracks that come with the Emhar kit. I think these tracks look OK for the most part but the bit that irritates me is how the track plates curve as they go around corners. In reality track plates do not bend, so I had to come up with a way of fixing, disguising or hiding the bend. I decided on grousers, which were plates that the tank crews bolted onto the tracks, effectively increasing the surface area of the track.
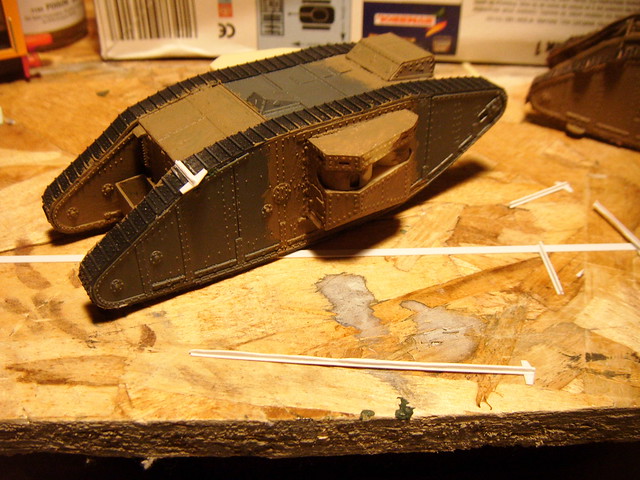

Each grouser is made from a strip of plastic glued to a "T" cross-section plastic rod. Except I didn't have any "T" bar so I had to cut an "I" bar in half lengthways.
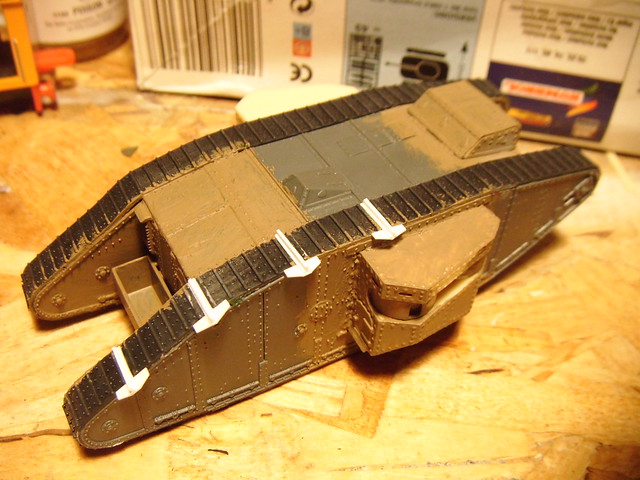

Some people, David Fletcher included, say that grousers were fitted to every 6th track plate. So I had to make a lot of grousers. Actually, it was quite enjoyable. I glued the first one on a noticeable bend in a track (to hide it), and then worked in both directions from that one. However, I didn't want the tracks to look identical, so I couldn't put a grouser in the same place on the other track.
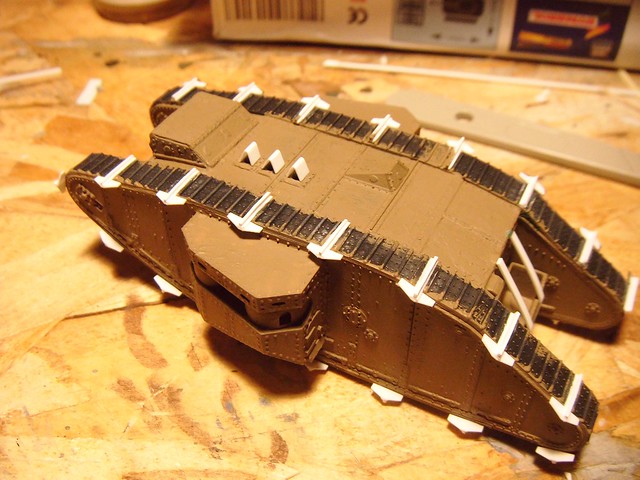

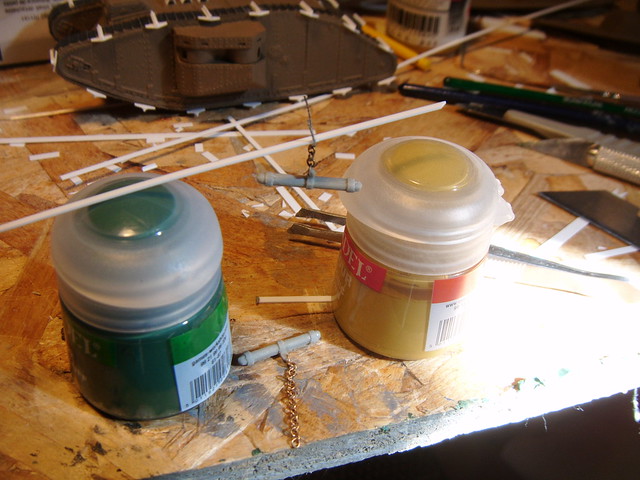
This just left one horrible looking spot on the front of the starboard track. So, my next trick was to use Track Torpedos. These were spars of wood, bolted to a track to try to stop the track slipping uselessly in soft mud.

The Painting

The model got painted all over, by hand, with Humbrol 29 Dark Earth. It's possibly a little too dark if you go by "scale colour". The tracks got painted, by hand, with Tamiya Gun Metal and Tamiya Black. I dipped the brush in the Gun Metal and painted a few track plates, then I dipped it in Black and painted one or two, then back to the Gun Metal. I was trying to get the track plates to be slightly different colours from each other.

Friday, December 26, 2014

Smyrznix

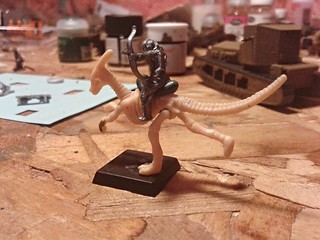
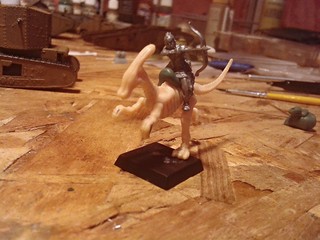
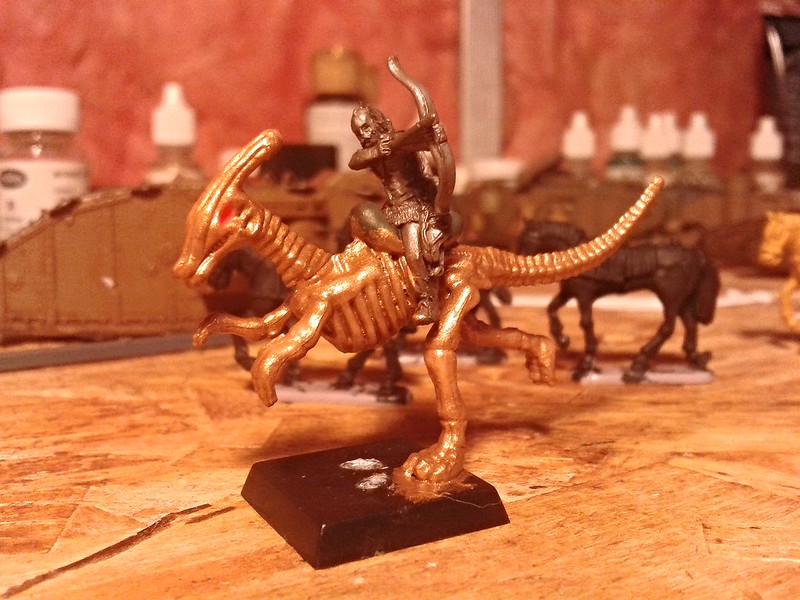
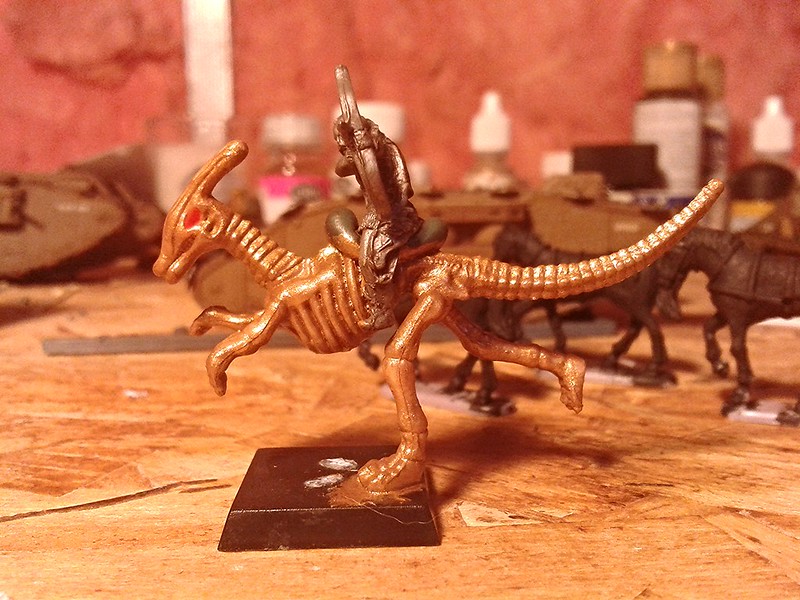
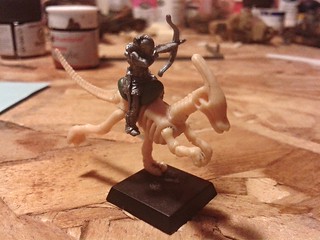
I like to take my kids to the dollar store and help them pick out some junky toys. I try to steer them towards dinosaurs, robots, and small cars. I do this because I know that sooner or later they will get bored with the toy, or break it, and then I can sneak it into my secret room and turn it into something uber-cool, like this:
Smyrznix Smyrznix Smyrznix

This is some fictitious warrior on a "steed" made of bronze. I can't think of a good name for him/it, so at the moment he is a Smyrznix. I want the beast automaton to be something like a cross between the Minoton from Sinbad and the Eye of the Tiger:

and of course, the Terminator endoskeleton.

I gave the "beast" a good thick coat of bronze: