In the last month or two, Master Box have released a 1/72 Mark II Male and it seems they will soon be releasing the Female of the species. However, I made this model before their release. I did it for a number of reasons:
- I wanted a 1/72 Tank Mark II, not a 1/76 like you get if you convert the Airfix
- I noticed the Airfix and Emhar cab fronts are the same size (and they shouldn't be - I don't know who screwed up, Airfix or Emhar)
- I felt like it
- I have a large stash of Airfix and Emhar rhomboids just rotting away
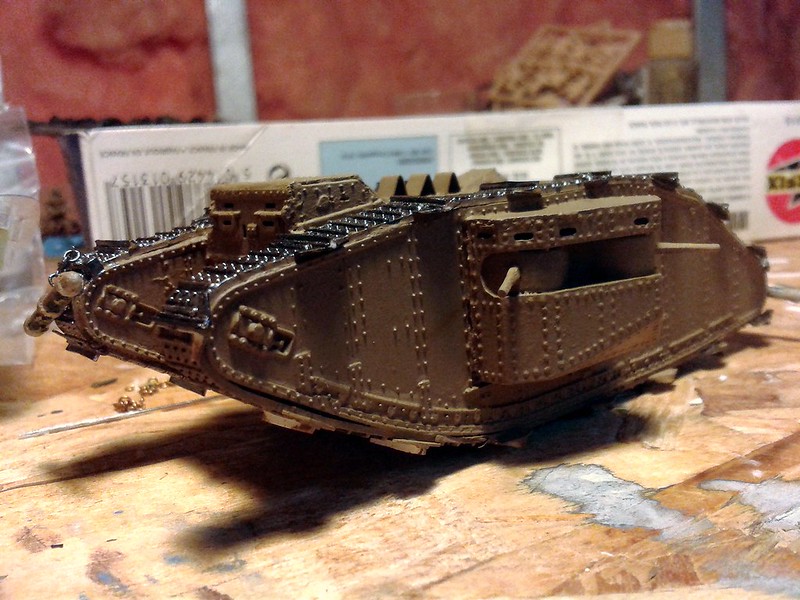
Anyways, like I said, I wanted 1/72 so I had to use majority of the Emhar kit with some very noticeable detail changes.
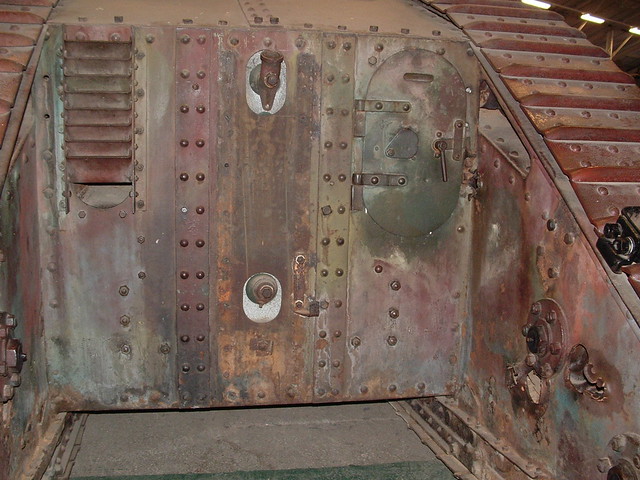
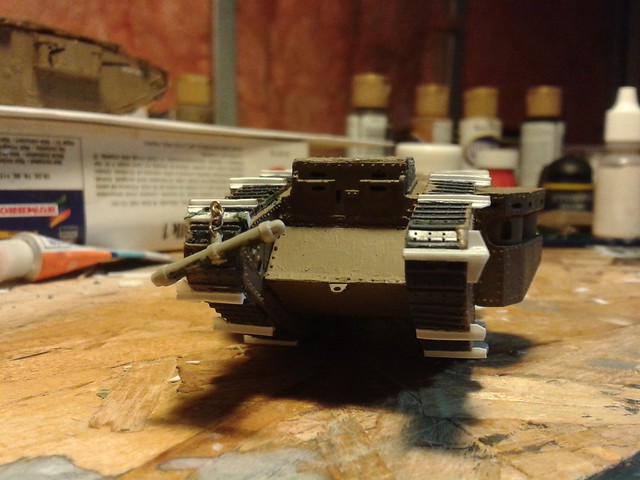
The Cab Front
Both the Mark II and the Mark IV used the Lewis machine gun, but the Mark IV had a very large ball-mount in the centre of the front, whereas the Mark II still had the flap arrangement from the Mark I (the Mark I used Hotchkiss machine guns, and in the front, the commander would push the Hotchkiss out, lifting up a flap as he did so). The vision slits above the flaps are also in different places, they are lower on the Mark II. All this meant that I had to use Airfix's cab front on Emhar's kit. Luckily, and rather bizarrely, these pieces are the same size as each other.
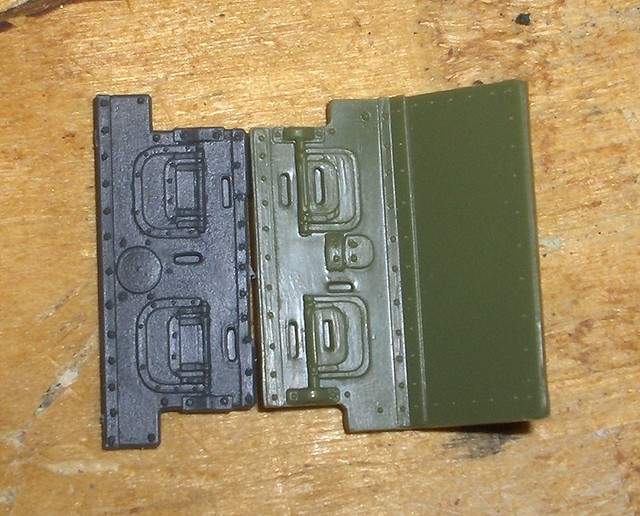

A little bit of Green Stuff and then a quick brush with some paint to make defects easier to see. Doesn't look fantastic, but neither does it look awful.
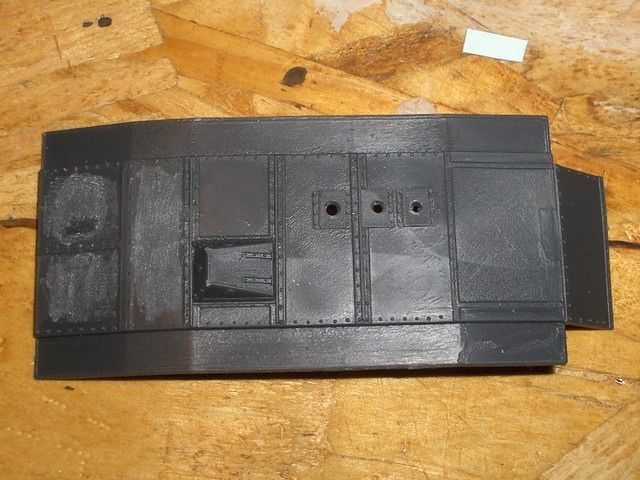
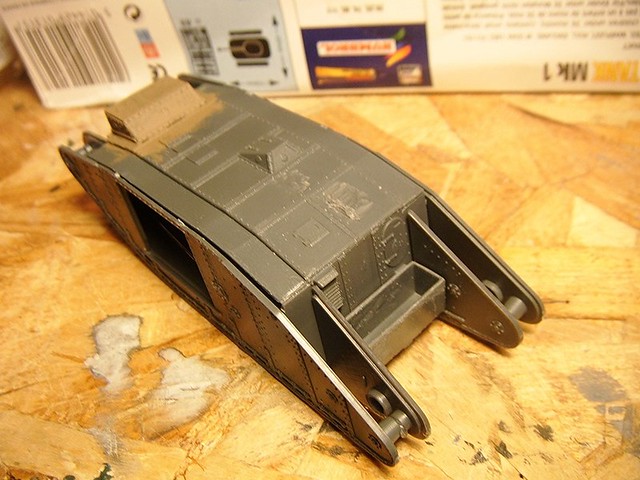
The Roof
The roof needs some work. Way back in the 1960s when Airfix went to the Tank Museum to measure up their tank, it seems they didn't look at the roof. Consequently, down the centre of a panel near the stern, they added a line of bolts that just never existed. Emhar, years later, also went to the Tank Museum to measure up the Mark IV, "Excellent". Emhar faithfully copied all of Excellent's peculiarities, including two small hatches in roof's rear panels. No other tank has these little hatches. Something very strange also happened; Emhar copied Airfix's fictitious line of bolts. That's strange because Emhar must have been able to see the roof, or else how could they copy the two funny little hatches, and yet they didn't see that the line of bolts isn't actually there.
What this means is, I had to do some work on the Emhar roof:
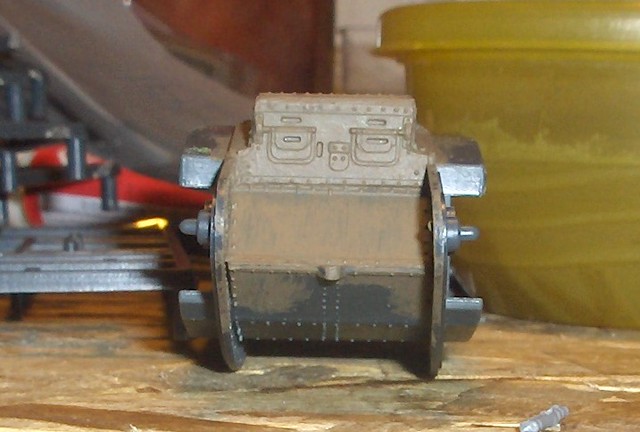
The Rear End
It was soon realised that the tail wheels on the Mark I were almost useless, and they were removed; Mark I tanks fighting at Arras in April 1917 were tail-less. The Mark II was very similar to the Mark I, including having the fuel tanks inside the front horns. This left a big open space at the rear:
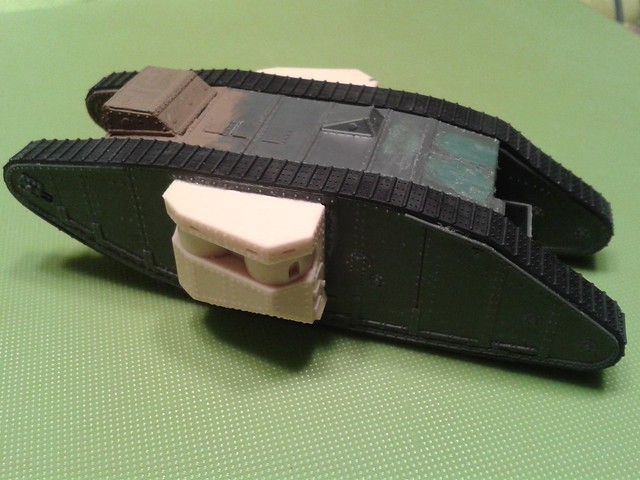
It seems from contemporary photos that most Mark II tanks had a large box positioned there, to carry stores, spades, fuel, grease and etc. So I had to make a stowage box. I first tried bending some plastic strip:

But it didn't work out. I then noticed the fuel tank of the Emhar kit is hollow, so I turned it over and used that:
It is larger than the boxes seen in contemporary photos, but maybe this particular crew of this particular tank built their own!
The Sides
The side of a MkIV was identical in appearance to the side of MkII, so the Emhar kit's sides didn't need any work. The sponsons, however, were the same as those on the MkI. I could have used the Airfix sponsons, but I have a little stash of Matador Models ones, so I used a pair of the Female ones. They are slightly too small for the Emhar because they were made for the 1/76 scale Airfix, but I put the gap at the bottom, underneath the sponson, and nobody has noticed it.
The Matador Models sponsons came with some machine guns, Vickers and Lewis. The Lewis guns don't look very good at all, but they were there, and I've tried and failed to make my own Lewis guns before, so I just used them. Once they were painted, they didn't look too bad. But before I put the guns on (because they are fragile, resin castings) I worked on the tracks.
The Tracks
I don't make enough money to keep buying resin replacement tracks from Matador Models, Mister X, or Modell Trans, so I decided I would use the "rubber band" tracks that come with the Emhar kit. I think these tracks look OK for the most part but the bit that irritates me is how the track plates curve as they go around corners. In reality track plates do not bend, so I had to come up with a way of fixing, disguising or hiding the bend. I decided on grousers, which were plates that the tank crews bolted onto the tracks, effectively increasing the surface area of the track.
Each grouser is made from a strip of plastic glued to a "T" cross-section plastic rod. Except I didn't have any "T" bar so I had to cut an "I" bar in half lengthways.
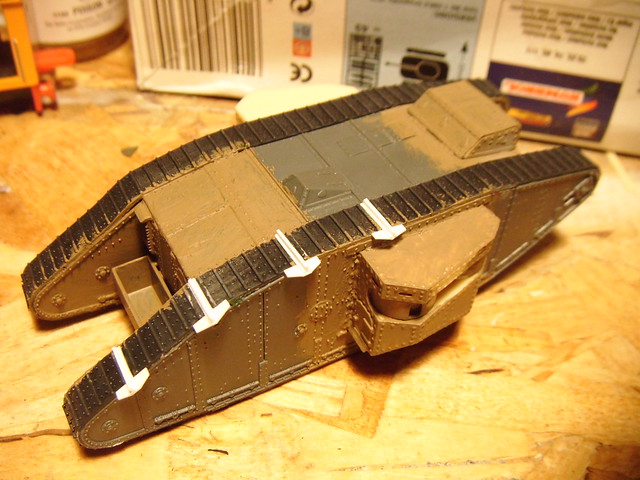
Some people, David Fletcher included, say that grousers were fitted to every 6th track plate. So I had to make a lot of grousers. Actually, it was quite enjoyable. I glued the first one on a noticeable bend in a track (to hide it), and then worked in both directions from that one. However, I didn't want the tracks to look identical, so I couldn't put a grouser in the same place on the other track.
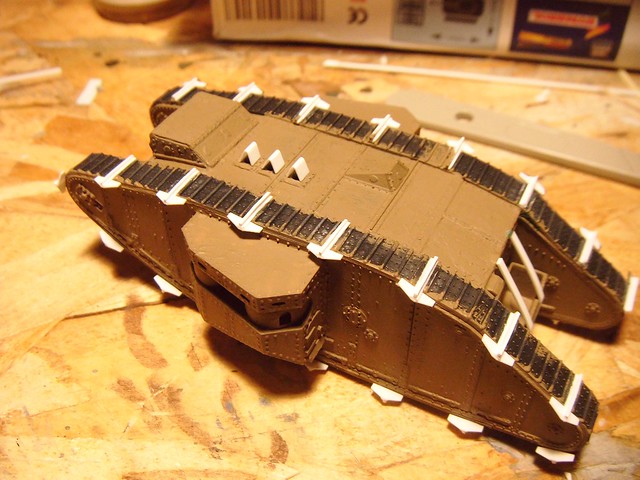
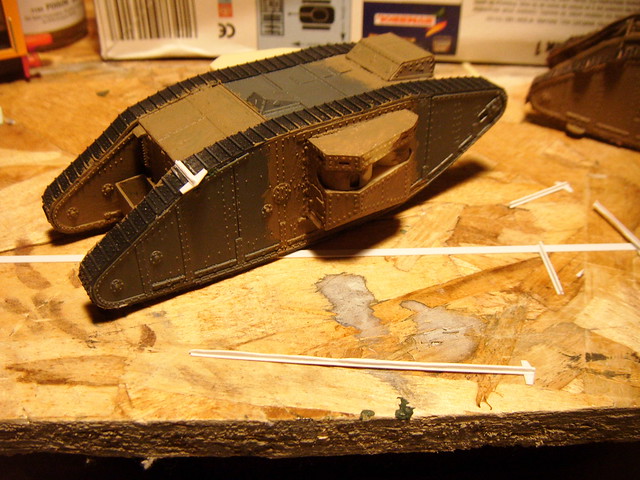
This just left one horrible looking spot on the front of the starboard track. So, my next trick was to use Track Torpedos. These were spars of wood, bolted to a track to try to stop the track slipping uselessly in soft mud.

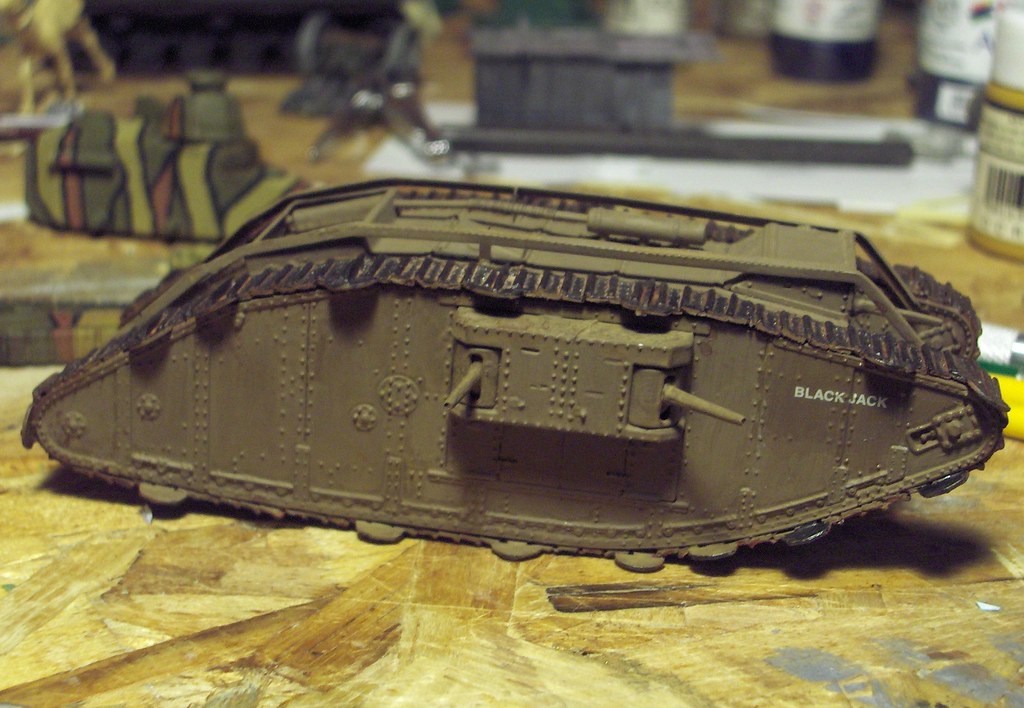
The Painting
The model got painted all over, by hand, with Humbrol 29 Dark Earth. It's possibly a little too dark if you go by "scale colour". The tracks got painted, by hand, with Tamiya Gun Metal and Tamiya Black. I dipped the brush in the Gun Metal and painted a few track plates, then I dipped it in Black and painted one or two, then back to the Gun Metal. I was trying to get the track plates to be slightly different colours from each other.