Two things people think of when they picture WW1 - mud and barbed wire. Mud is easy to make; here's my go at making barbed wire.
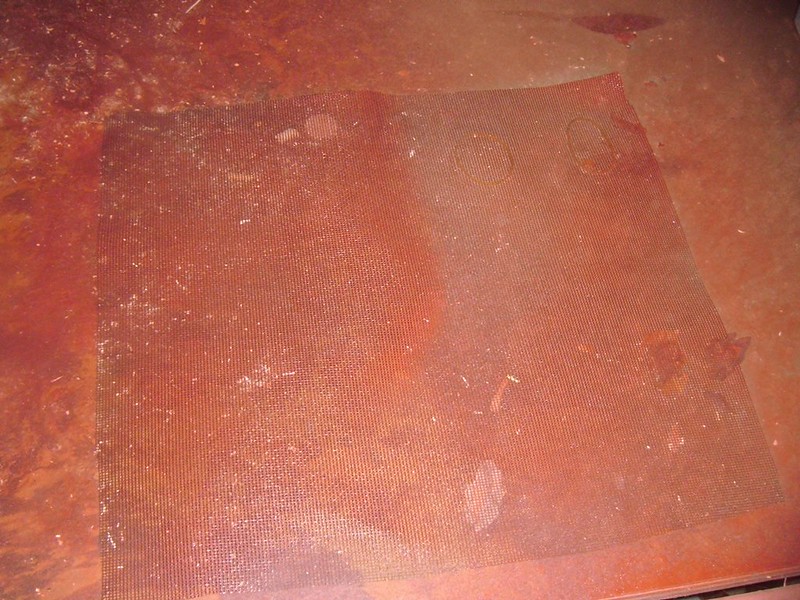
Basically, all I'm doing is painting some insect screen and then cutting it into strands.
This is just a patch I cut out of an old Screen Door I was dumping. It's plastic and the holes are tiny; small enough that a skinny, starving mosquito cannot squeeze through.
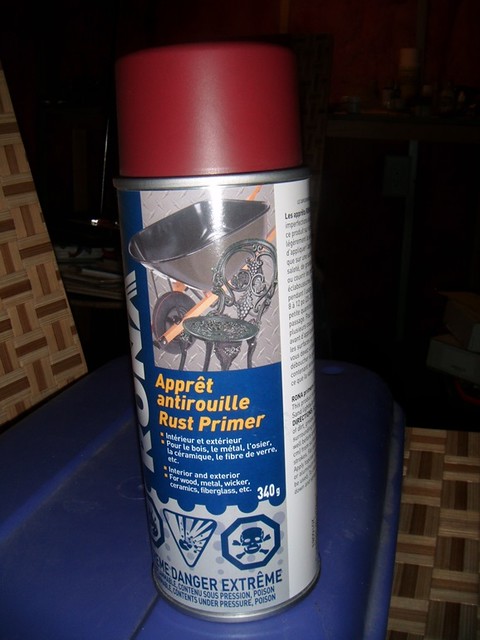
The paint is just a cheap can of Red Oxide. It really doesn't matter if dust and dirt sticks to the mesh; on the real battlefield, real barbed wire would have been covered in all sorts of muck.
These days barbed wire is galvanised, so it stays shiny for a long time; many years. But I think they had better things to do with Zinc in WW1, so I don't think it would have been galvanised; I think it would have been made from mild steel. In that case it would have rusted within hours.
I took the paint and mesh into the garage and gave it a generous spraying. The temperature has suddenly dropped here (it's -15oC) and that will affect the paint drying, but this doesn't have to be a perfect looking job; in fact the dirtier the better.
When I get a few minutes to myself, I will be cutting this up into strands. But today, the kids don't want to sleep so it will have to wait.
Sunday, November 24, 2013
Saturday, November 23, 2013
Painting Tracks Part 2
Well, it turns out I didn't like the colour enough, so I have started to repaint them.
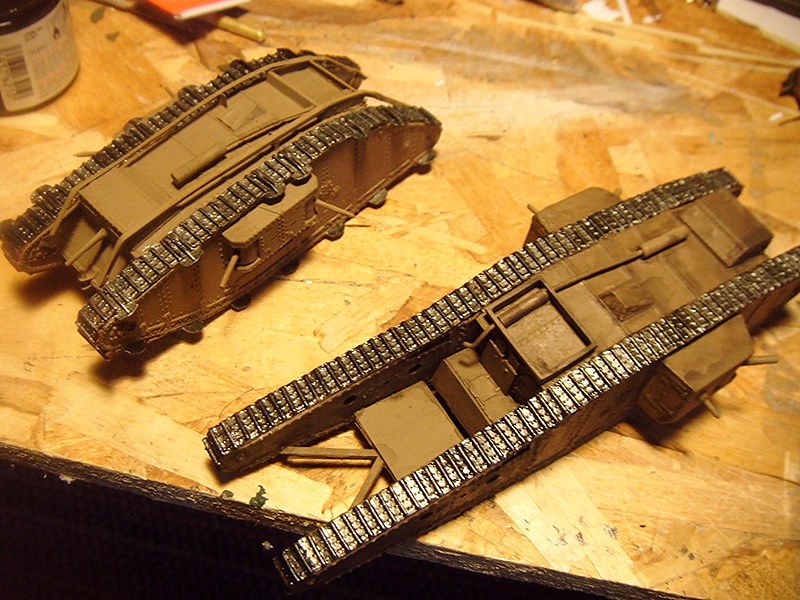
I used Tamiya Gun Metal and Tamiya Black, mixing them on the brush - a cheap brush. I want the track plates to look slightly different colours - some darker, some lighter - so I didn't mix up a big batch of paint. I want the non-uniformity.
After these have dried they will be getting several washes with different brown mud colours. And when those have dried I will see how I feel about them; maybe add some mud, maybe add a lot of mud!
Monday, September 16, 2013
Update on Why No Updates!
We had another baby boy born about 3 months ago which, as any father can tell you, puts a lot of demands on a couple. Income is cut because mother is on maternity leave, so father has to work a bit more to make up the money. Available time for making models is cut to zero, for obvious reasons.
Hence, no updates.
One day, sooner or later, I'll start doing modelmaking stuff again. In the mean time I'm enjoying being a dad.
Hence, no updates.
One day, sooner or later, I'll start doing modelmaking stuff again. In the mean time I'm enjoying being a dad.
Tuesday, June 25, 2013
Painting Tracks
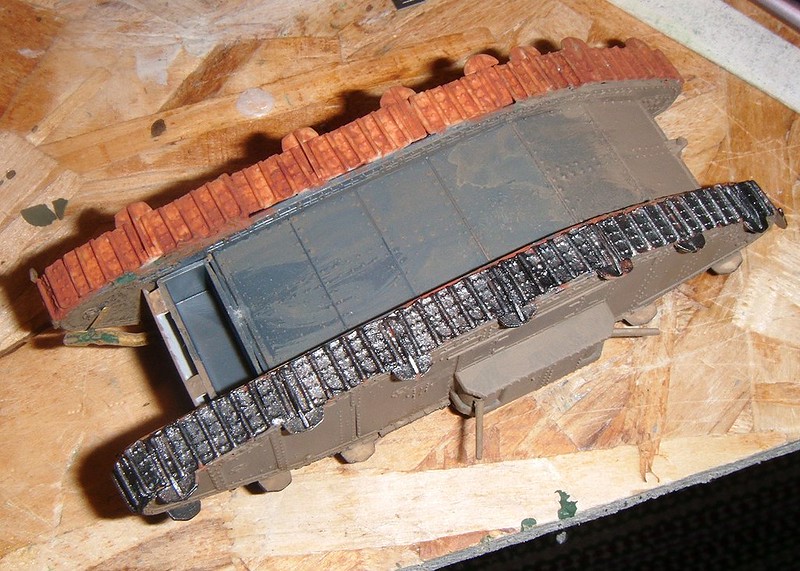
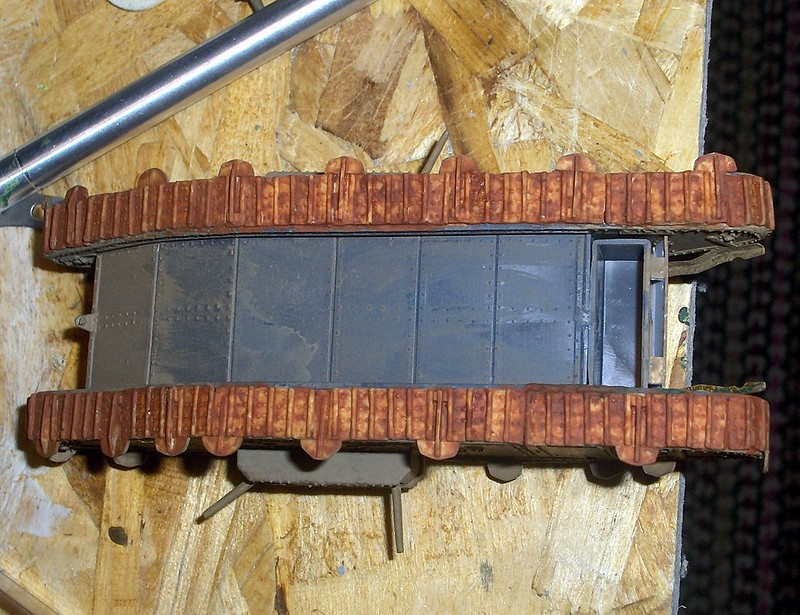
I was confined to quarters this morning and I looked over and saw my models abandoned months ago. Thought I'd do a bit of painting and thought I'd paint the tracks. I decided to start on the underside as I haven't done anything for months and I find it takes me a while to get my eye in.
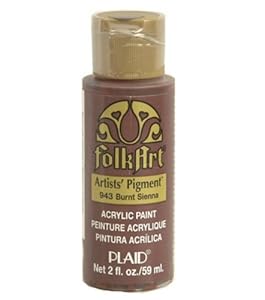
I was trying to find a good rust colour and rejected Revell 83 in favour of this, generic Burnt Sienna. The Revell paint would have needed a special thinner and brush cleaner, whereas this one washes off with water.
I quite like the colour, but even if I didn't not much of it will be visible once I've added the other layers of paint.
Sunday, March 3, 2013
British in Gas Masks by Strelets
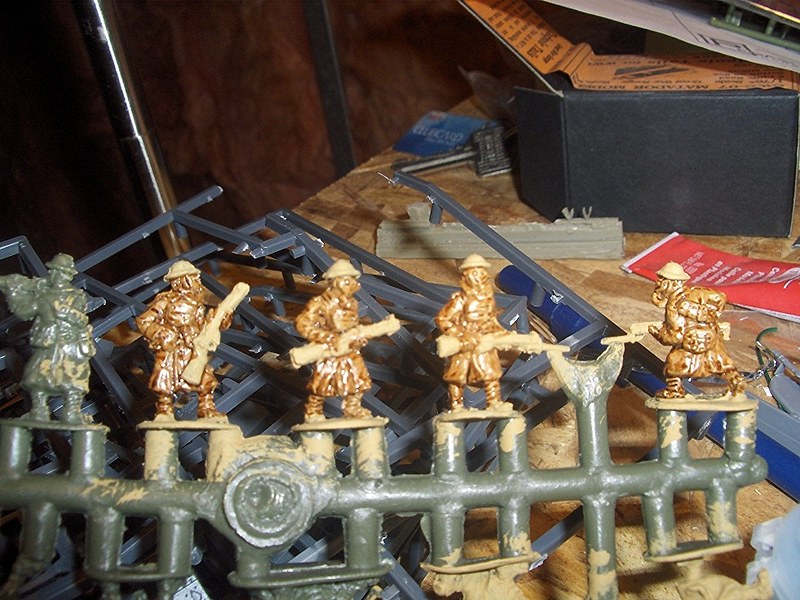
I was just passing the time, in my little room, and I ended up putting some paint on these
I used a very big brush and covered them with Reaper Master Series Green Ochre, that took about 5 minutes. Then I gave them a heavy brushing with some Sepia ink that I found in a box in my basement, that took about 5 minutes as well. Not bad for 10 minutes' work.
I don't usually paint figures, or perhaps I should say I haven't painted many figures. These probably bring my total up to about 12. I think the uniform is a good colour, but it looks as though the ink is going to stay glossy. I will try to fix that with some matte varnish.
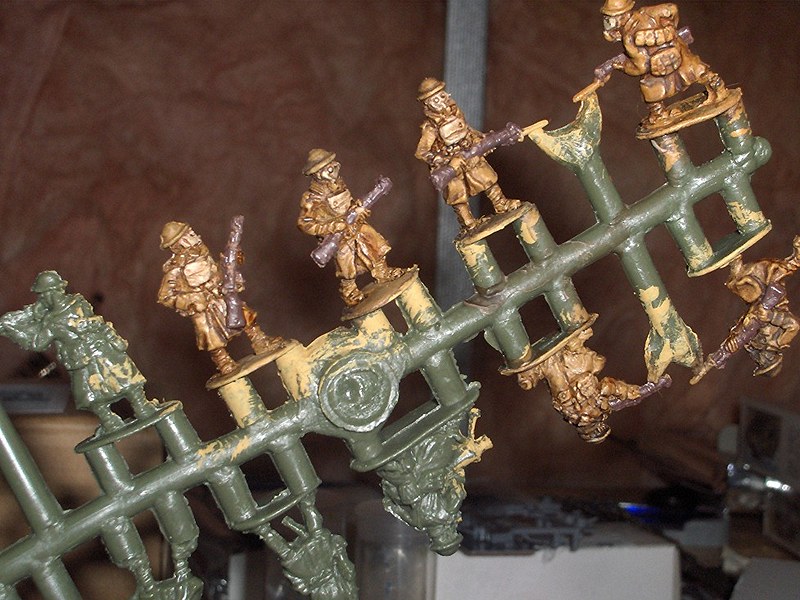
Two weeks later...
The sepia ink didn't dry so I brushed over it with a brown wash. I made a start on the rifles but I don't like the colour I've used.
I have to say, I've made almost no effort to try to paint well with these figures. I didn't much like them and I was painting them in between other projects to see what various colours looked like. But they have grown on me. They're not the prettiest of figures, but they do have a certain charm.
Sunday, February 24, 2013
A 1/72 Tank Mark II
Just thought I'd try this. It's been playing on my mind ever since I noticed that the cab front from the Airfix kit is the same size as that from the Emhar kit.
The Airfix kit is really a Mark II, despite what it says on the box, so making a Tank Mark II has never been a problem. I have one I made years ago sitting on a windowsill collecting cobwebs. The problem is the kit is 1/76 scale, presumably because back in the olden days that was the size of the figures people used. Today's figures, however, are 1/72 and when placed in the vicinity of the Airfix tank make it look small.
The Emhar kit is 1/72, so no problem set beside figures. The two cabs shouldn't really be the same size, but they are. I don't know why I noticed it. So I sliced the Airfix cab front off (it is attached to the glacis) and glued it to the Emhar body. It took less than 3 minutes. I wasn't very careful, just wanted to get it going.
The two models assemble in different ways so there are some gaps, and it's not helped by my indifferent cutting and gluing skills. But I think it's going to work. A little bit of Green Stuff, a little bit of "mud", something to draw your attention elsewhere, and Robert is your mother's brother.
Saturday, February 9, 2013
Molding and Casting with Oyumaru
I've just had my first go with Oyumaru. It really is as simple as all the videos say.
1. Get some Oyumaru:
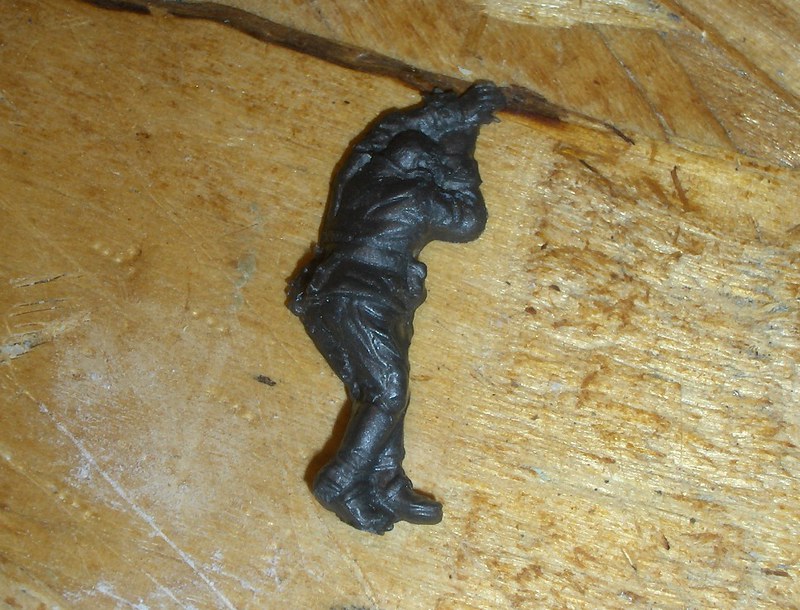
2. Put it in hot water for a few minutes and it turns malleable. Press it over the object you want to copy (in this case, a 1/72 German Cavalry figure from LW):
3. Let it cool and harden, or run it under cold water for 30 seconds to harden. Remove the object. Mold is made:
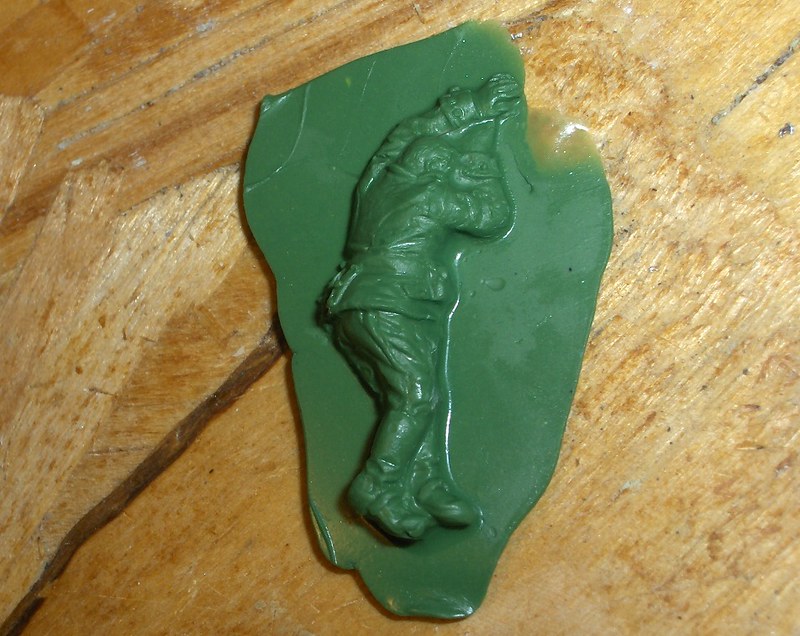
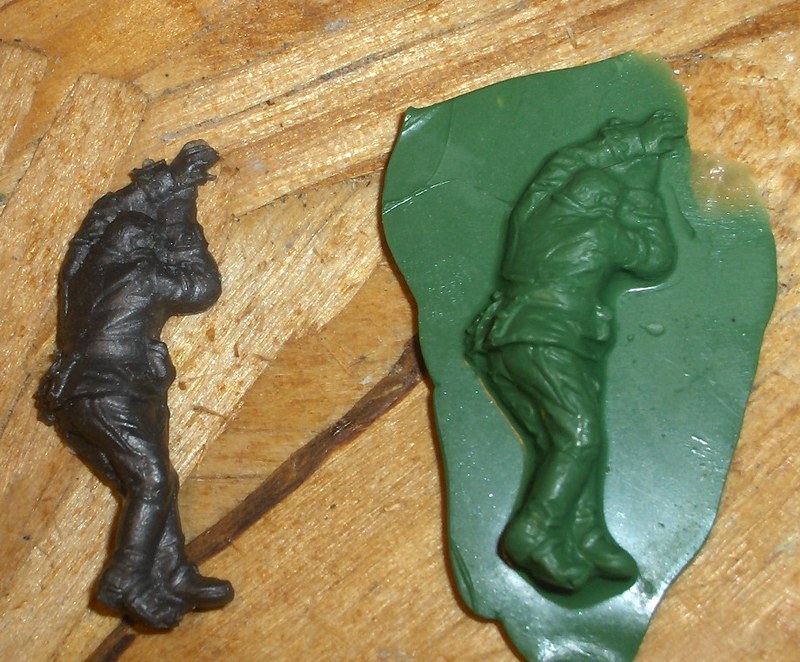
4. Push Green Stuff into the mold. When the Green Stuff has hardened, remove it from the mold:
You're done.
I know I used too much Green Stuff, but it'll trim off. Just look at how much detail it captured!
Very pleased with this.
Friday, January 25, 2013
Tank Mark IV Female
Thought I'd build Emhar's 1/72 Tank Mark IV Female to try to show everything that is wrong with this kit by correcting as much as I could. It needs a lot of corrections! And, I chose the female because it is supposed to be more accurate than the male.
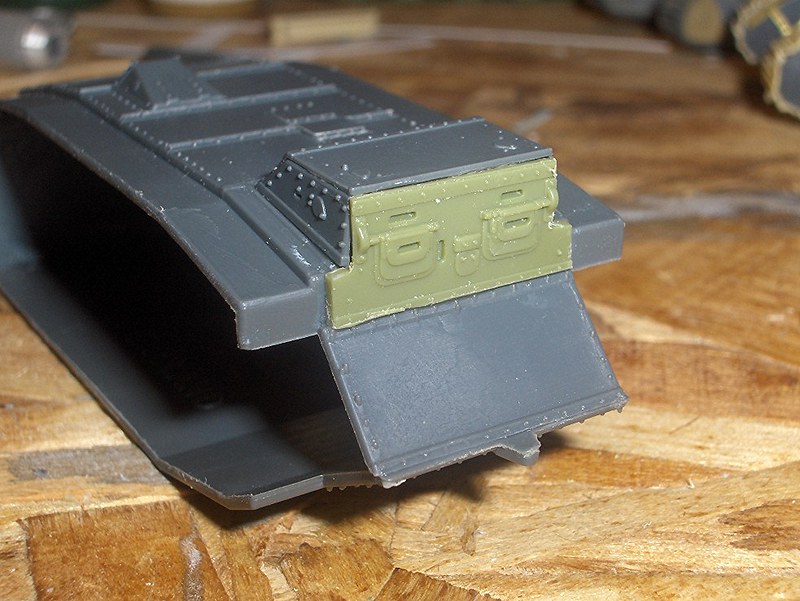
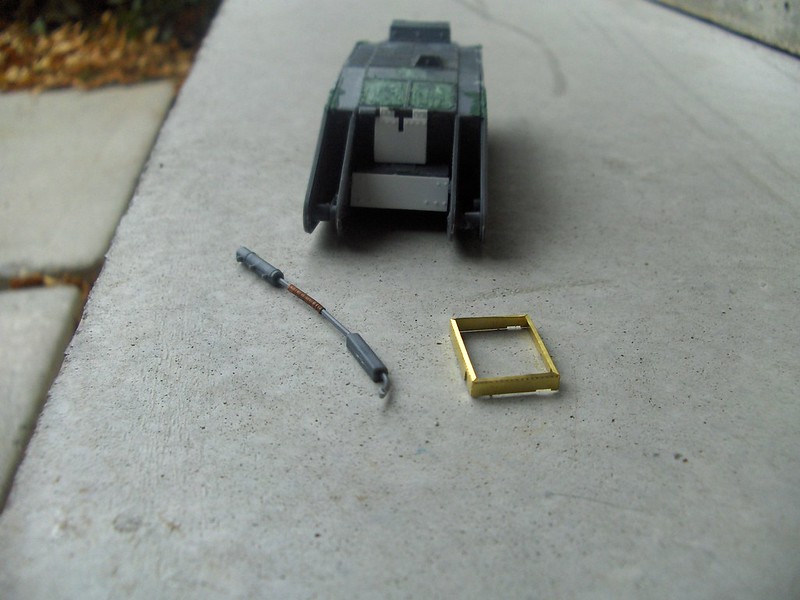
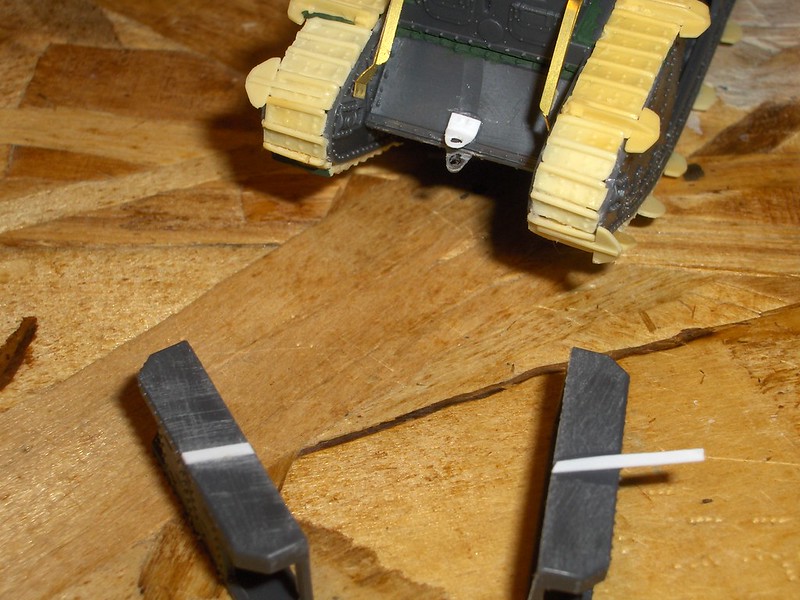
In this first pic I have scratchbuilt the rear armour (I made the rivets by pressing a pointy tool thingy into the back of the thin plastic sheet), filled in two hatches that the real thing didn't have, and removed a line of rivets that, again, the real thing didn't have. I've also started building the cargo box from a photoetch set; it's on the table beside the back of the tank:
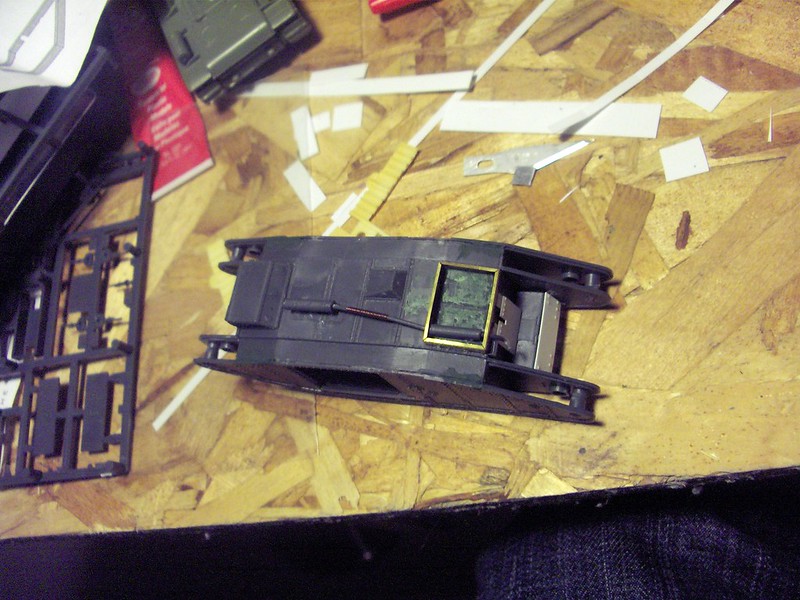
This next pic shows the new rear armour, the new cargo box (from Extratech), and the changes I made to the exhaust pipe; wrapped some thin wire around to simulate asbestos cord, and changed the length:
Exhaust pipe and cargo box in place:
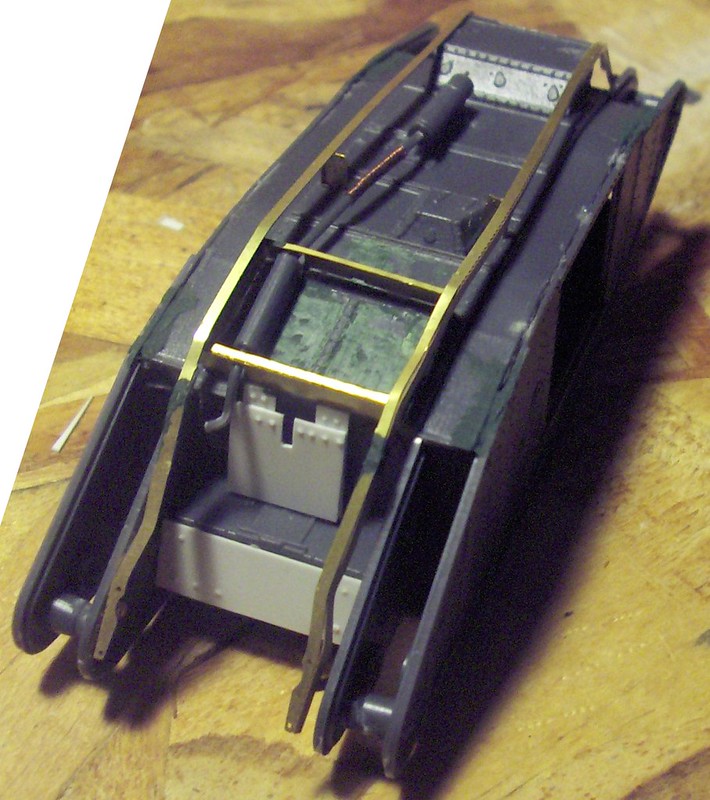
Putting on the photoetch unditching rails (from Extratech), the ones in Emhar's kit are a complete work of fiction. You can also see how much the exhaust pipe has changed:
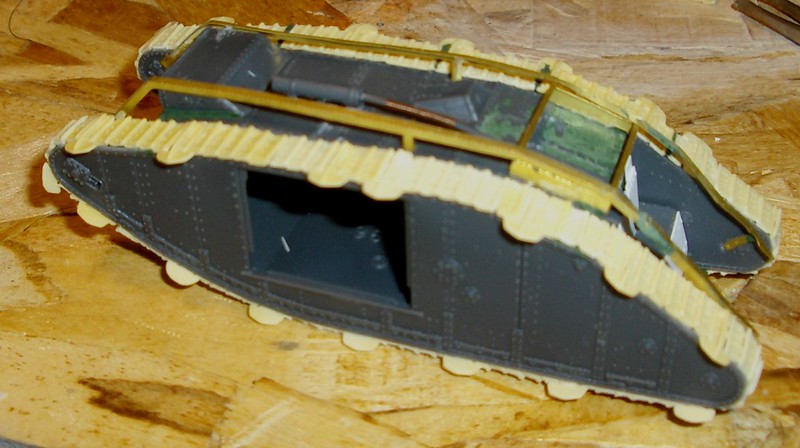
I replaced the kit's rubber tracks with a resin set from Matador Models. The resin ones don't bend around the horns like the rubber ones do, and in real life track plates don't bend. Also, the Mark IV more often than not wore track extension plates, or "grousers", to reduce ground pressure:
And here the tracks are done. Throughout this build I've been learning how to use Liquid Green Stuff from Citadel; going to need a lot of it!:
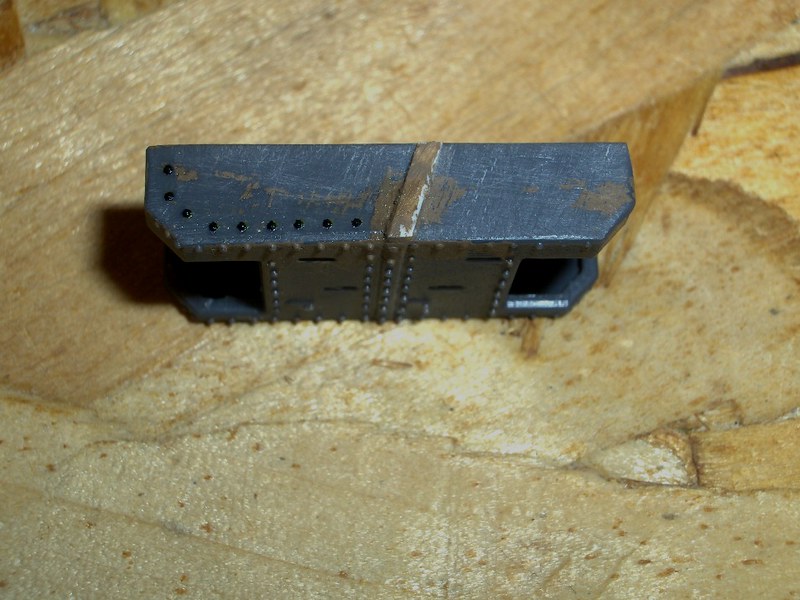
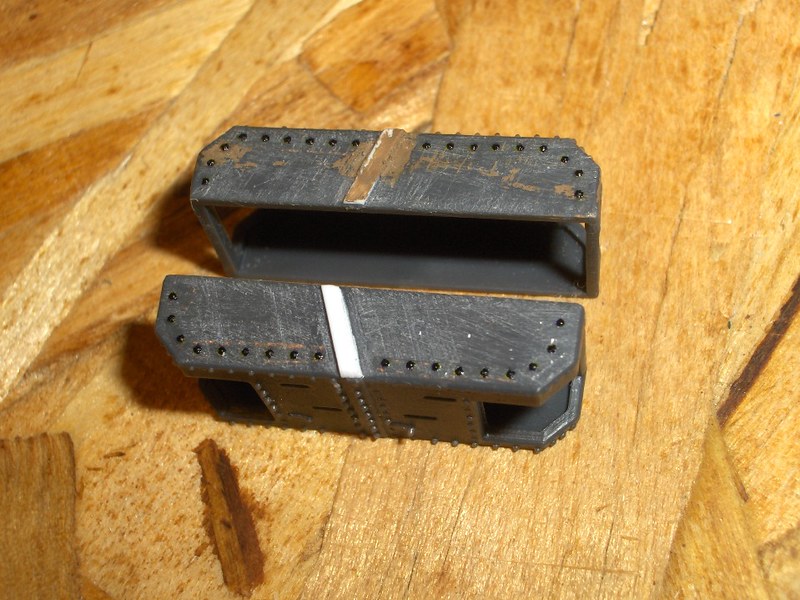
Next I had to fix the shackle at the front. This meant I had to carve away the one that's moulded as part of the kit to slim it down, and make a duplicate piece out of plastic sheet. This tiny detail took me about 3 hours! Then I started to correct the sponsons: they have no detail at all on the top, when they should have rivets and an angled dividing strip:
The rivets are from Archer Surface Details, and are incredibly fiddly. I found I couldn't do strips longer than three, and I had to brush these into place with a tiny wet paintbrush. Also, even after leaving them for half an hour, when I went to put more on it loosened and moved the first ones. I will have to let them dry overnight, I think.
Not too bad for a first attempt, although I can see it looks a bit rough (I'm not blind!). I am not going to do the missing line of rivets (if you look carefully at the top edge of a female Mark IV sponson, you might notice it has a double line of rivets. Emhar's kit has a single line.) because I think it doesn't notice very much.
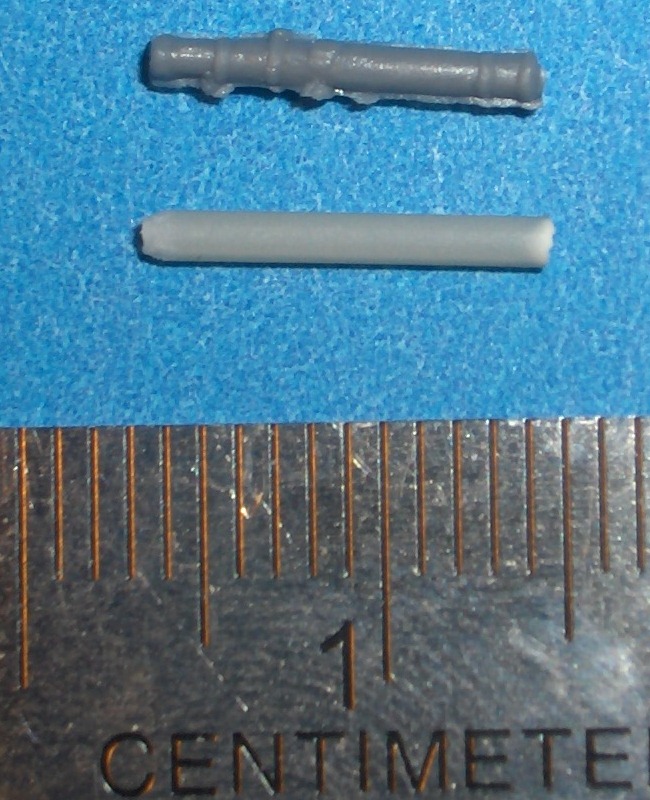
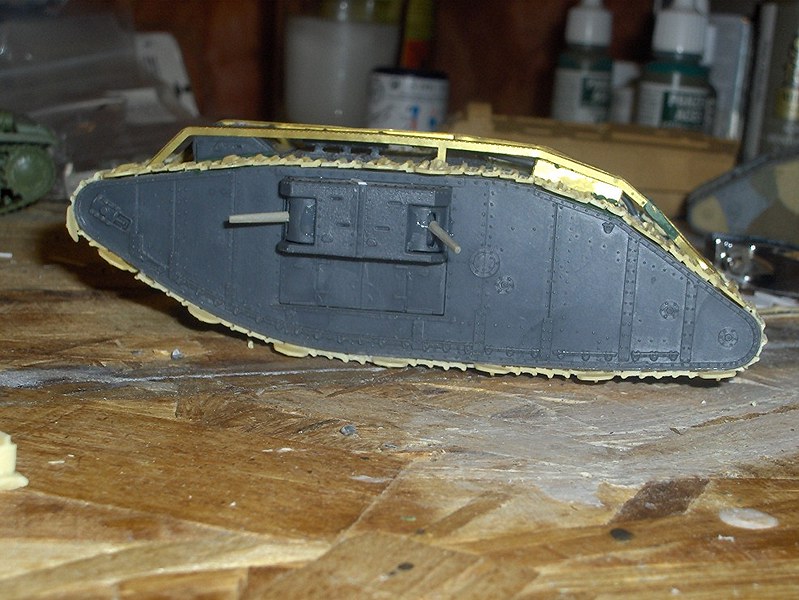
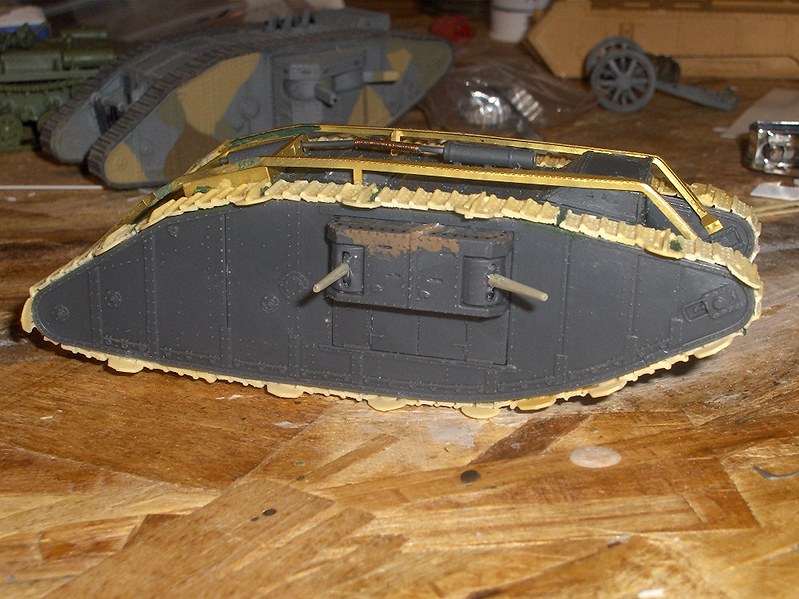
Next I need to replace the kit's incorrect Hotchkiss machine-guns with Lewis MGs. And here's what I've managed so far:
The top one is from Emhar's British Infantry - I cut up the Lewis gunner. But as you can see the mould is misaligned and there is a ton of flash. The bottom, light grey tube was my second attempt: I don't like this one either.
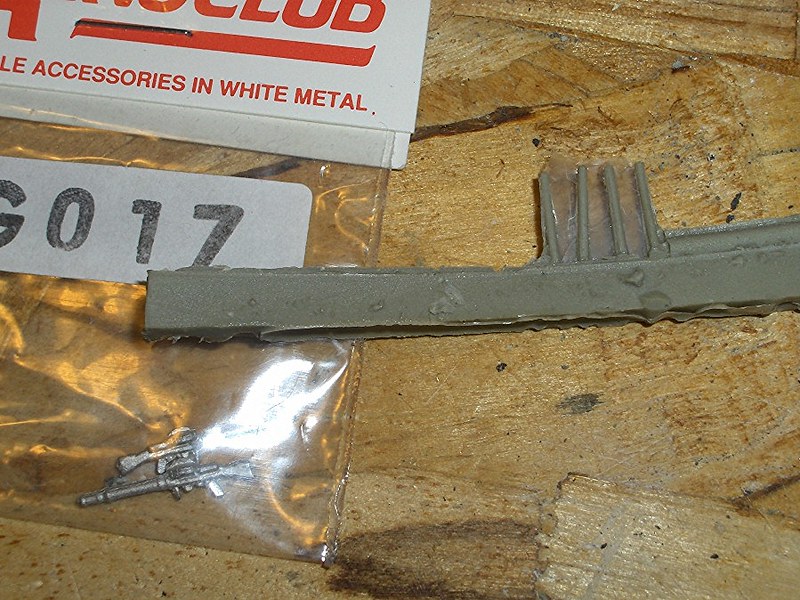
Another two options are the resin ones from Matador Models, and the metal ones from Aeroclub:
Clearly the Aeroclub ones are superior, but I decided to save them for later. I have a project in mind that involves a crew working on their tank and I'll need the detailed guns for that. Plus, I only have four of them. I went with the Matador Models ones
I haven't done the front MG yet.
Wednesday, January 23, 2013
Reviresco Austin Armoured Car
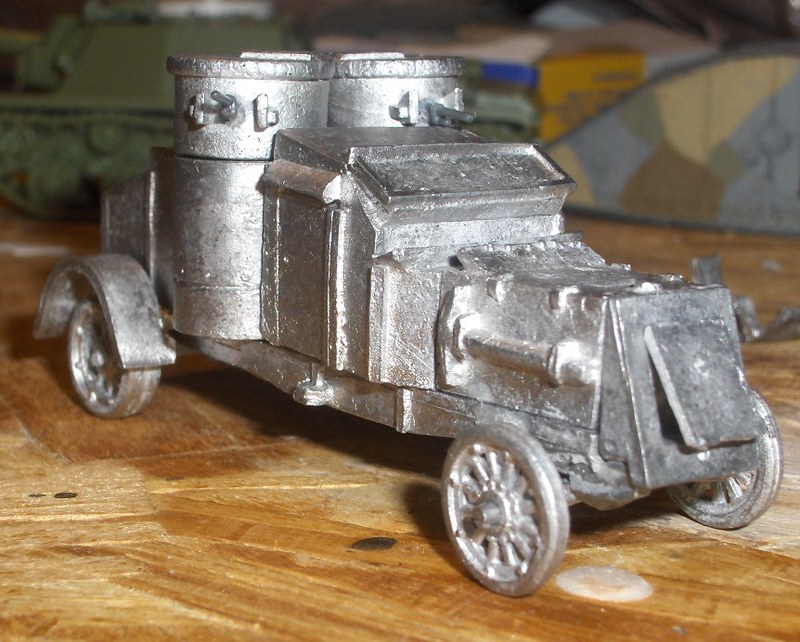
I wanted to test my skills with an airbrush I was given some years ago; I've never used one. I thought I'd knock this kit together in a few minutes, straight out of the box, as they say (although it comes in a polythene bag, not a box). It took about half an hour to get it to look like this:
Despite my intention to build it OOB, warts-and-all, and only use it for "target practice" while I learn how to use the airbrush, I couldn't resist "fiddling" with it. I've left off the front mudguards because they looked awful, and I am going to use the Hotchkiss MGs from the Emhar Mk IV female tank instead of this kit's unidentifiable blobs. I feel like I should fill the great big gaps with Green Stuff. Sadly there's nothing I can do about the rear end; it's completely the wrong shape (well, I could do a "cut and shut" on the chassis, and saw off the rear corners, but... it's only for paint practice!).
I carried out the machine gun transplant (the Emhar Mk IV female should not have Hotchkiss MGs, so it was no big deal to cut them off and use them here):
Subscribe to:
Posts (Atom)

