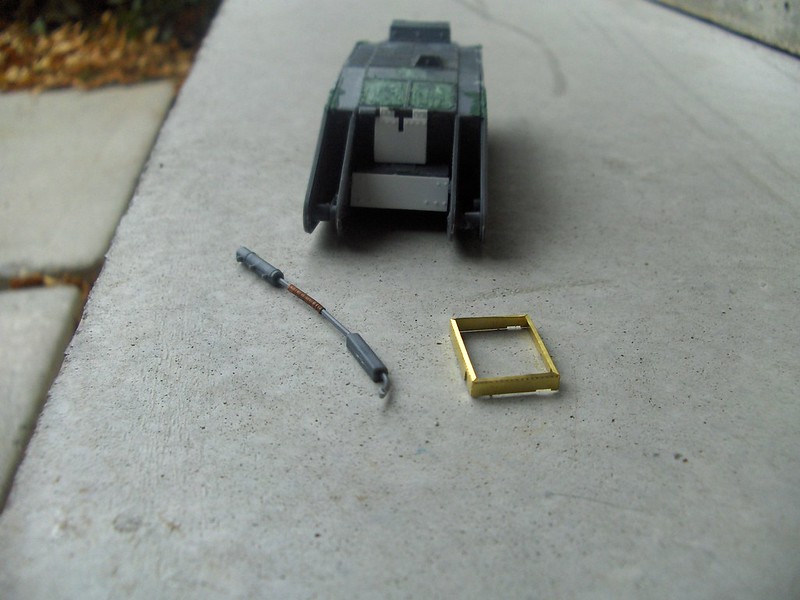
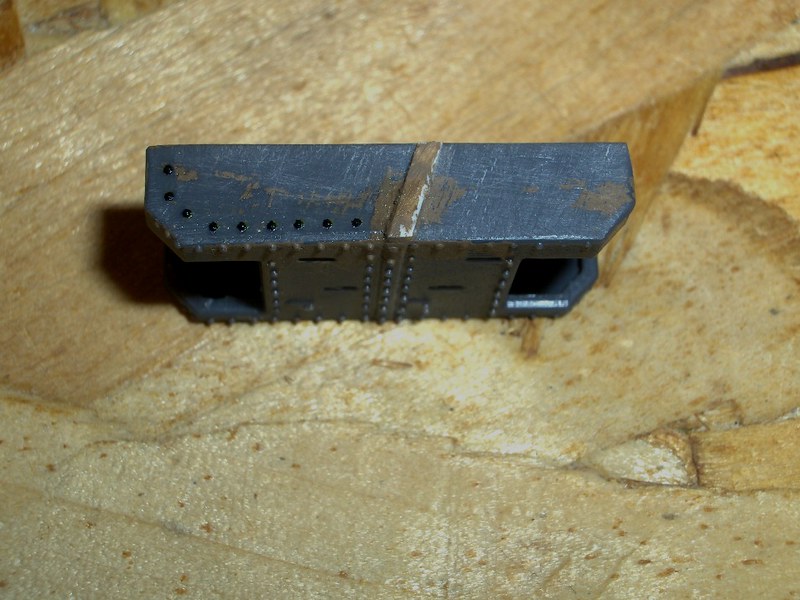
In this first pic I have scratchbuilt the rear armour (I made the rivets by pressing a pointy tool thingy into the back of the thin plastic sheet), filled in two hatches that the real thing didn't have, and removed a line of rivets that, again, the real thing didn't have. I've also started building the cargo box from a photoetch set; it's on the table beside the back of the tank:

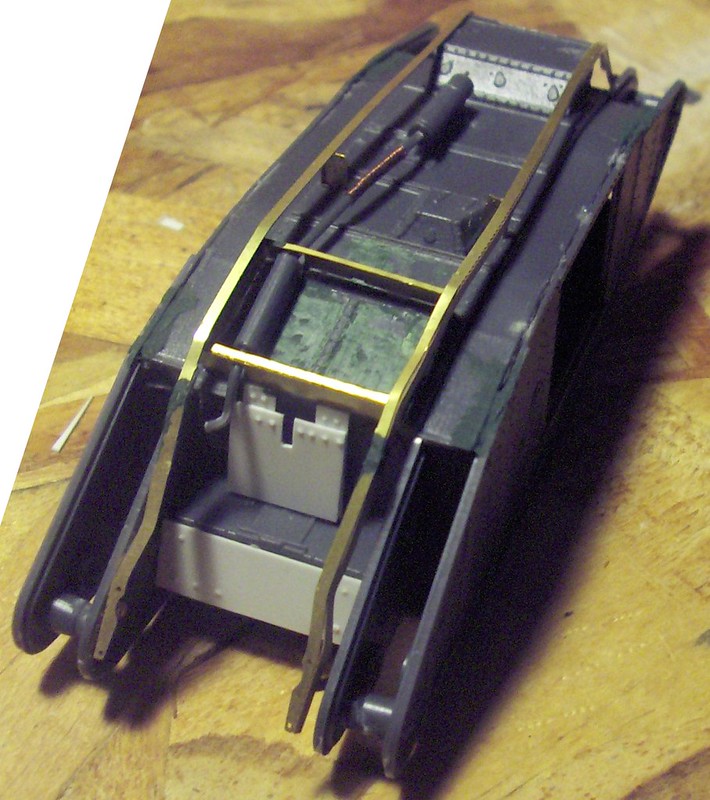
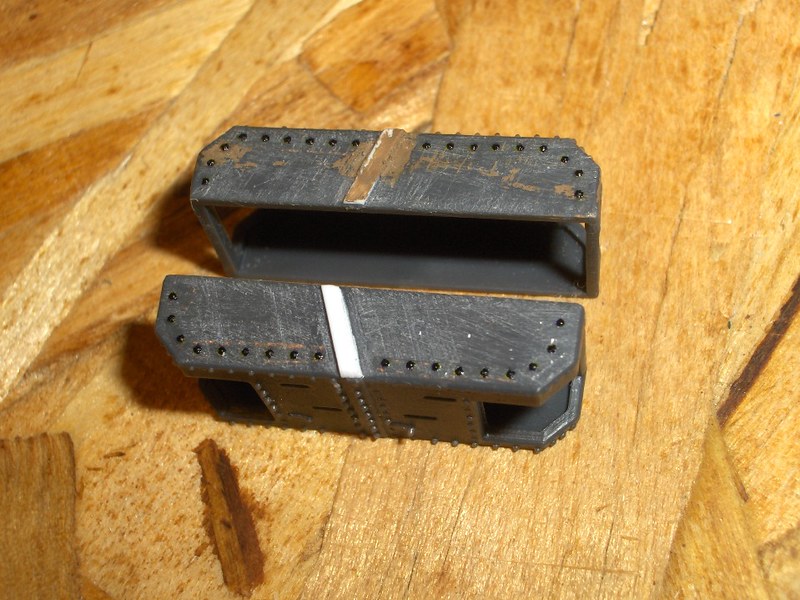
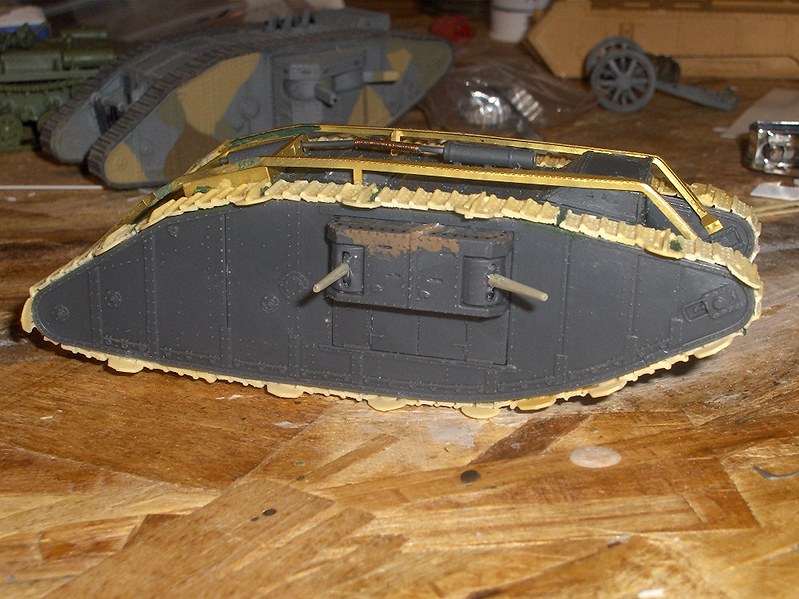
This next pic shows the new rear armour, the new cargo box (from Extratech), and the changes I made to the exhaust pipe; wrapped some thin wire around to simulate asbestos cord, and changed the length:
Exhaust pipe and cargo box in place:

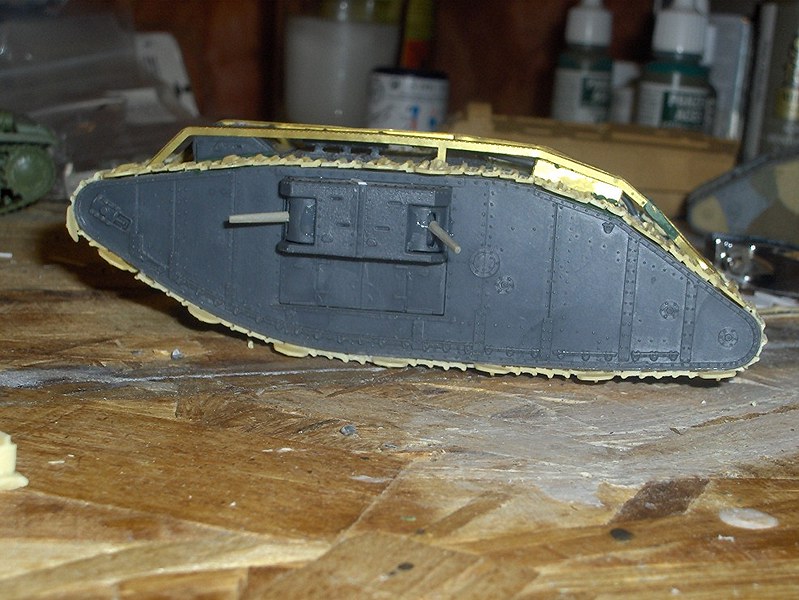
Putting on the photoetch unditching rails (from Extratech), the ones in Emhar's kit are a complete work of fiction. You can also see how much the exhaust pipe has changed:
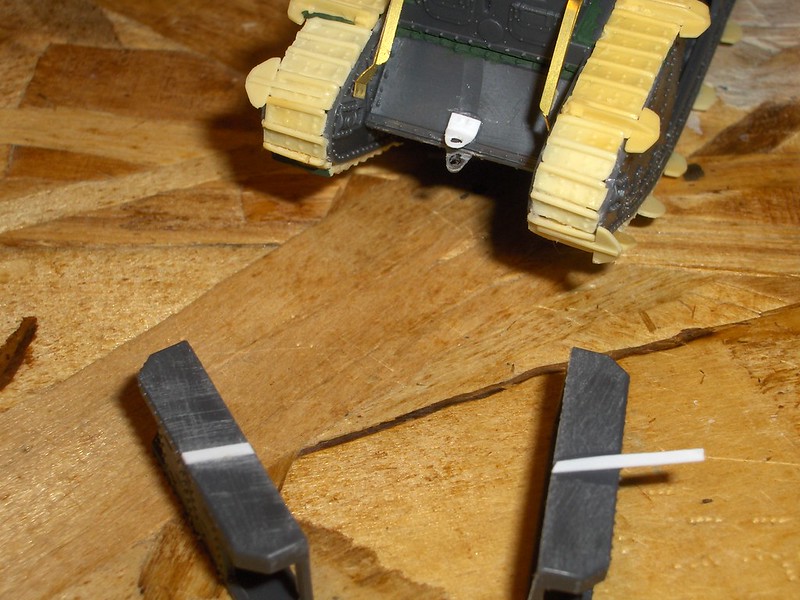
I replaced the kit's rubber tracks with a resin set from Matador Models. The resin ones don't bend around the horns like the rubber ones do, and in real life track plates don't bend. Also, the Mark IV more often than not wore track extension plates, or "grousers", to reduce ground pressure:

And here the tracks are done. Throughout this build I've been learning how to use Liquid Green Stuff from Citadel; going to need a lot of it!:

Next I had to fix the shackle at the front. This meant I had to carve away the one that's moulded as part of the kit to slim it down, and make a duplicate piece out of plastic sheet. This tiny detail took me about 3 hours! Then I started to correct the sponsons: they have no detail at all on the top, when they should have rivets and an angled dividing strip:
The rivets are from Archer Surface Details, and are incredibly fiddly. I found I couldn't do strips longer than three, and I had to brush these into place with a tiny wet paintbrush. Also, even after leaving them for half an hour, when I went to put more on it loosened and moved the first ones. I will have to let them dry overnight, I think.
Not too bad for a first attempt, although I can see it looks a bit rough (I'm not blind!). I am not going to do the missing line of rivets (if you look carefully at the top edge of a female Mark IV sponson, you might notice it has a double line of rivets. Emhar's kit has a single line.) because I think it doesn't notice very much.
Next I need to replace the kit's incorrect Hotchkiss machine-guns with Lewis MGs. And here's what I've managed so far:
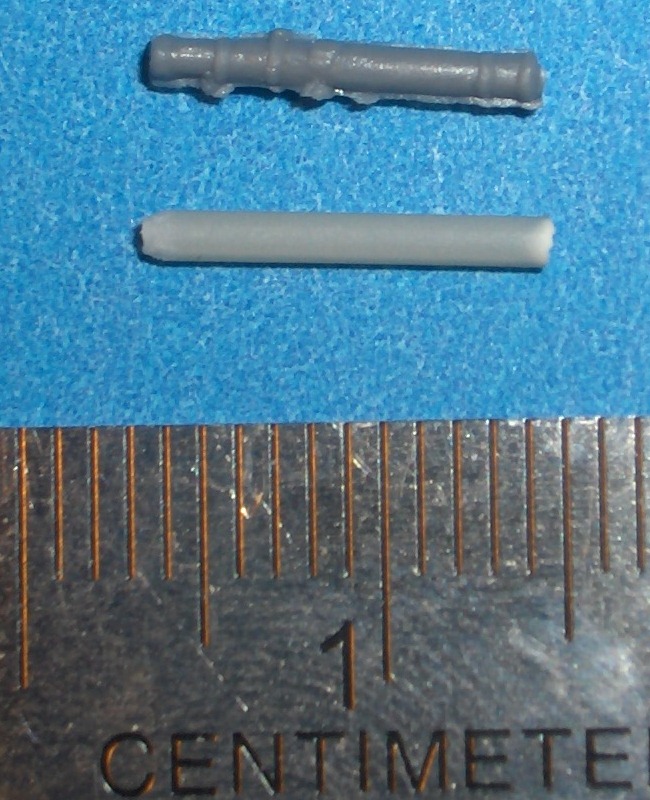
The top one is from Emhar's British Infantry - I cut up the Lewis gunner. But as you can see the mould is misaligned and there is a ton of flash. The bottom, light grey tube was my second attempt: I don't like this one either.
Another two options are the resin ones from Matador Models, and the metal ones from Aeroclub:
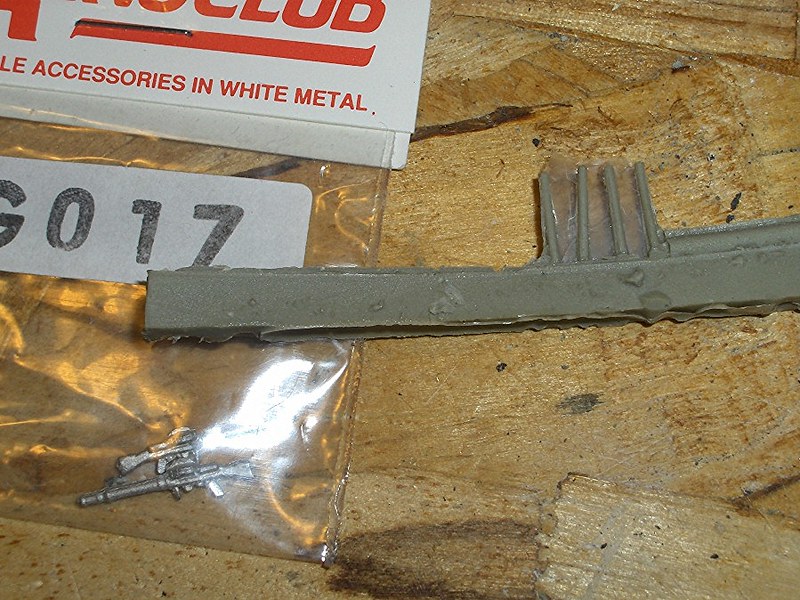
Clearly the Aeroclub ones are superior, but I decided to save them for later. I have a project in mind that involves a crew working on their tank and I'll need the detailed guns for that. Plus, I only have four of them. I went with the Matador Models ones
I haven't done the front MG yet.