Friday, December 26, 2014

Smyrznix

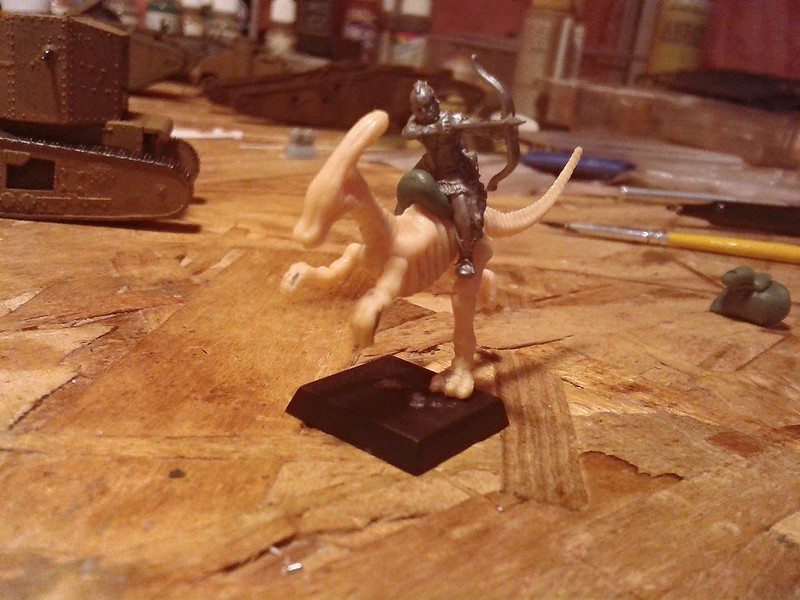
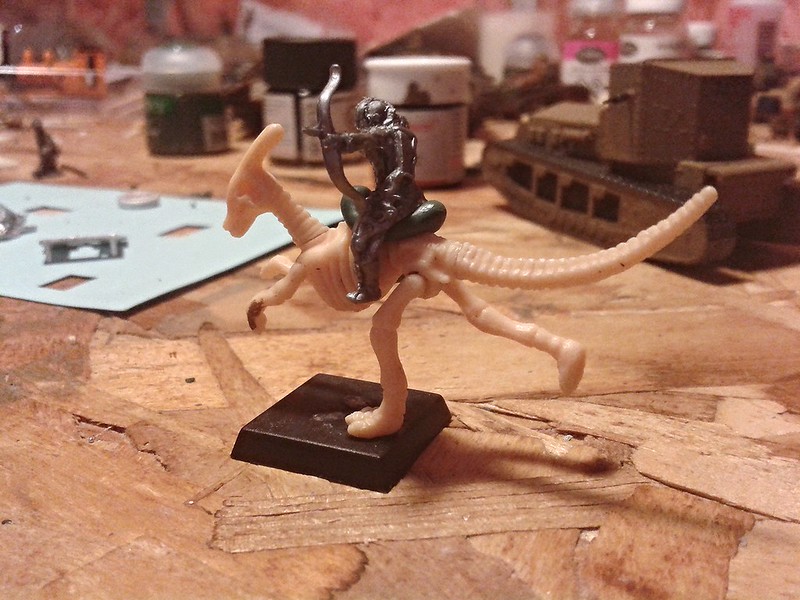
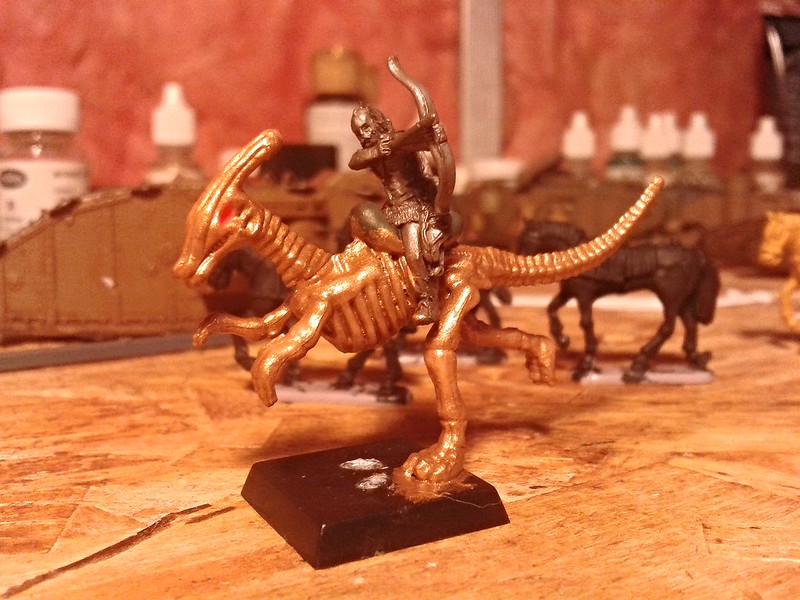
I like to take my kids to the dollar store and help them pick out some junky toys. I try to steer them towards dinosaurs, robots, and small cars. I do this because I know that sooner or later they will get bored with the toy, or break it, and then I can sneak it into my secret room and turn it into something uber-cool, like this:

Smyrznix Smyrznix Smyrznix

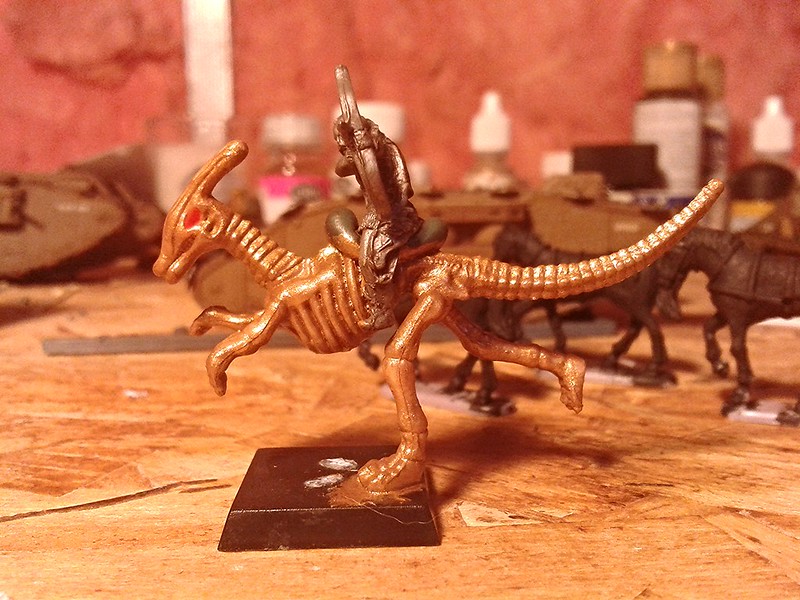
This is some fictitious warrior on a "steed" made of bronze. I can't think of a good name for him/it, so at the moment he is a Smyrznix. I want the beast automaton to be something like a cross between the Minoton from Sinbad and the Eye of the Tiger:

and of course, the Terminator endoskeleton.

I gave the "beast" a good thick coat of bronze:

Saturday, January 11, 2014

Slow Progress on the Mark IV Tanks

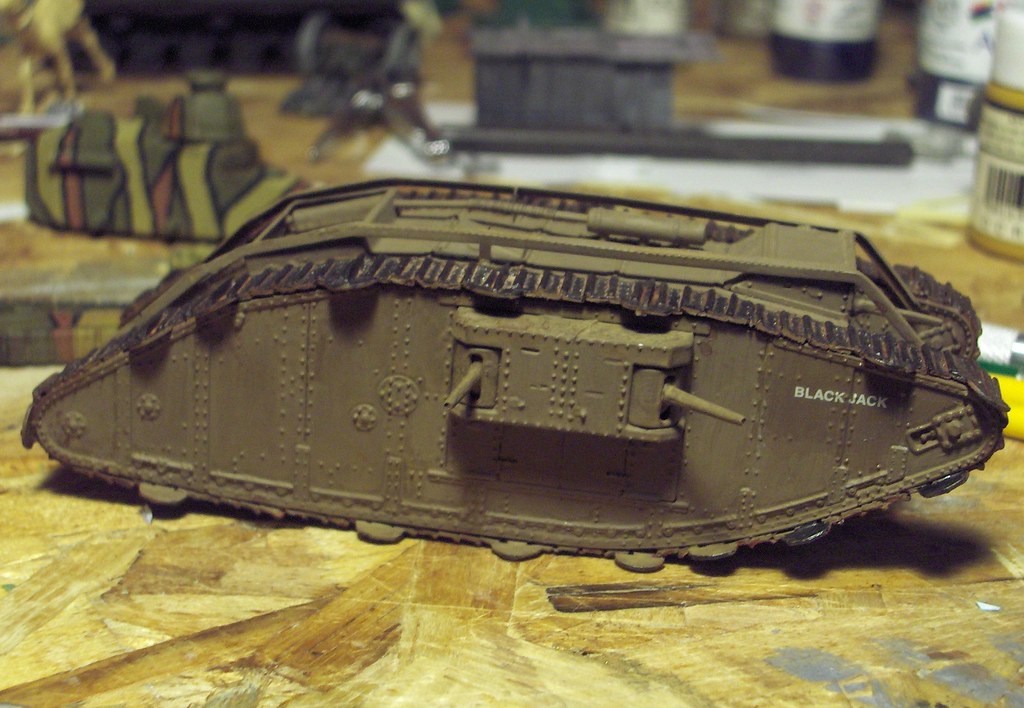
Had a bash at putting the decals on. Decided to use my mate Plastic Fan's method. Painted the area with a gloss coating and when it was dry I applied the decal on that, using Micro Sol. When the decal was fixed in place I applied another coat of the clear gloss to seal the decal in. The next stage is to use Dullcote to remove the glossy look, but I haven't got there yet.
Black Jack
The decals are from Skytrex. There may have been a tank called 'Black Jack' but if so, I don't know if it was a male or female, and I seriously doubt the lettering was this size and in this position. However, I don't care! I think this is a good name for a tank and I like the sound of it.

Black Jack
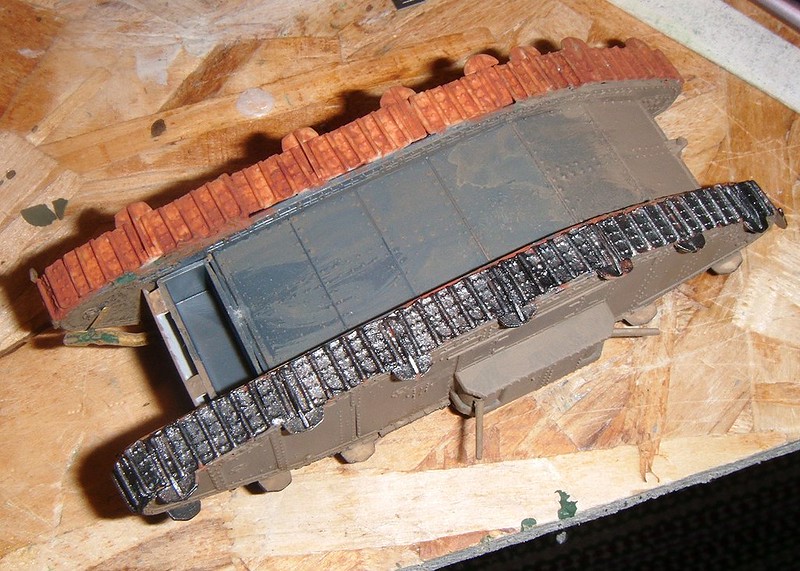
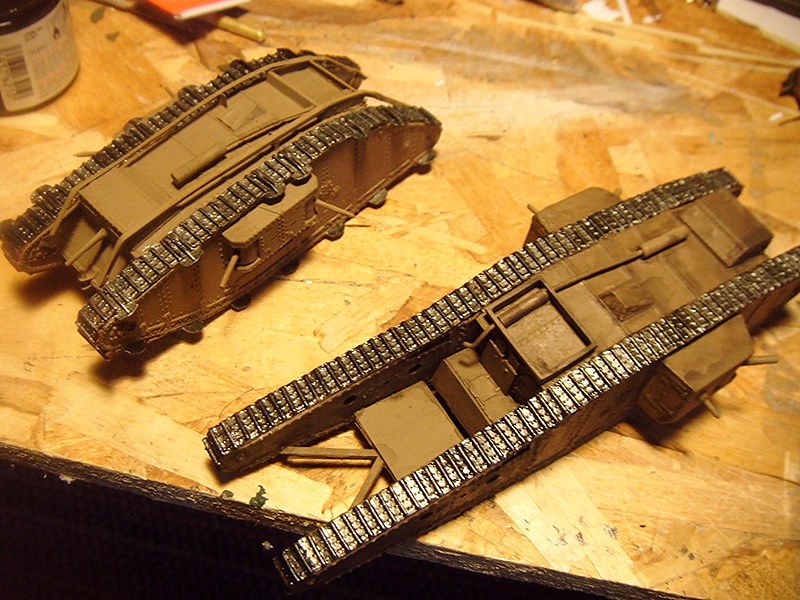
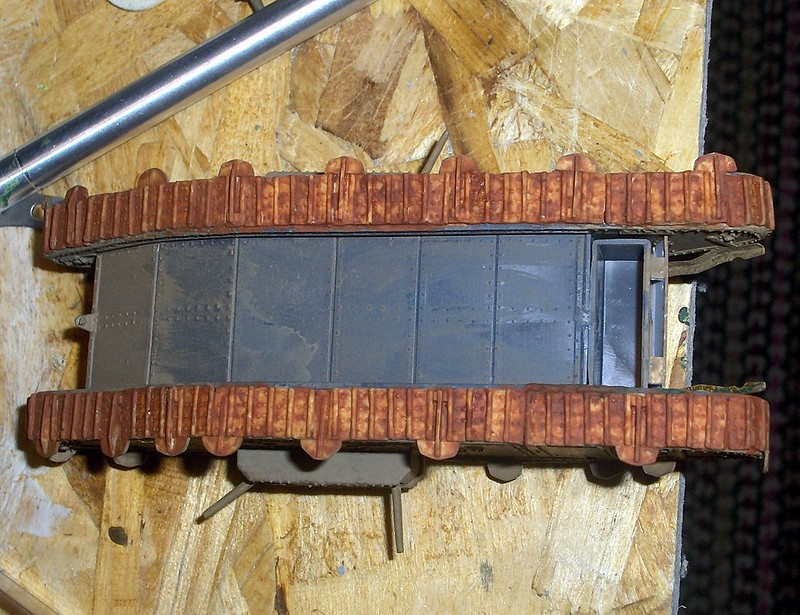
I've also given the tracks a wash with a dark rust colour, and I did the Tadpole as well:

Sunday, November 24, 2013

Making Barbed Wire

Two things people think of when they picture WW1 - mud and barbed wire. Mud is easy to make; here's my go at making barbed wire.

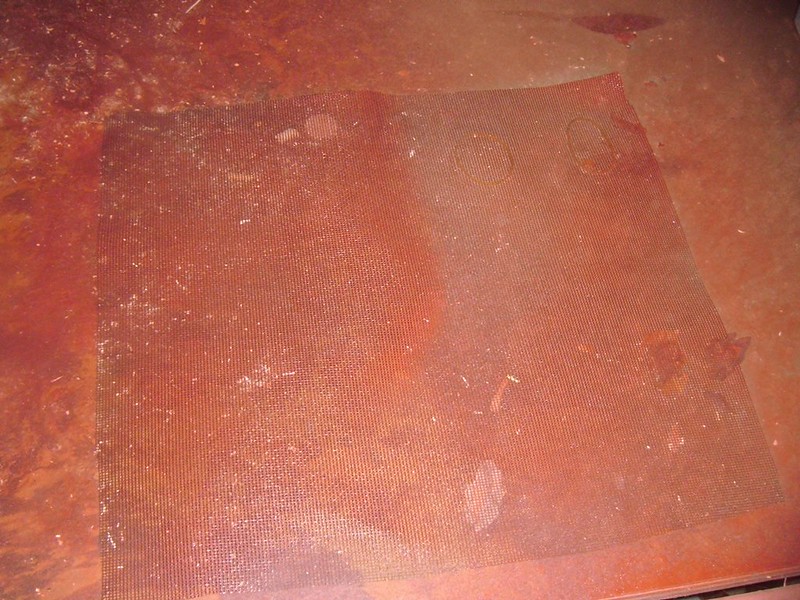
Basically, all I'm doing is painting some insect screen and then cutting it into strands.


This is just a patch I cut out of an old Screen Door I was dumping. It's plastic and the holes are tiny; small enough that a skinny, starving mosquito cannot squeeze through.

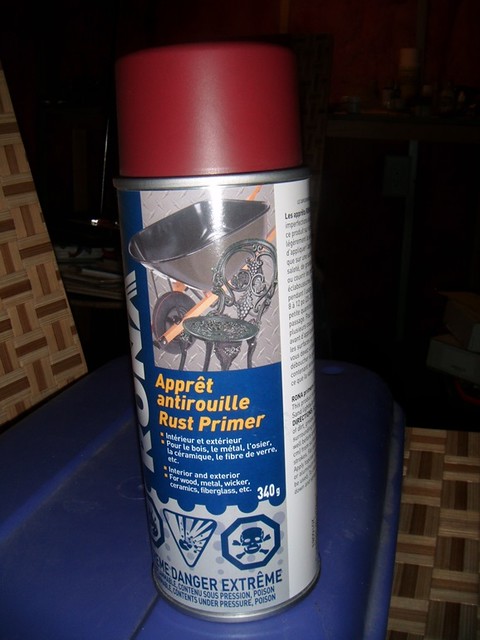
The paint is just a cheap can of Red Oxide. It really doesn't matter if dust and dirt sticks to the mesh; on the real battlefield, real barbed wire would have been covered in all sorts of muck.


These days barbed wire is galvanised, so it stays shiny for a long time; many years. But I think they had better things to do with Zinc in WW1, so I don't think it would have been galvanised; I think it would have been made from mild steel. In that case it would have rusted within hours.

I took the paint and mesh into the garage and gave it a generous spraying. The temperature has suddenly dropped here (it's -15oC) and that will affect the paint drying, but this doesn't have to be a perfect looking job; in fact the dirtier the better.


When I get a few minutes to myself, I will be cutting this up into strands. But today, the kids don't want to sleep so it will have to wait.

Saturday, November 23, 2013

Painting Tracks Part 2

Well, it turns out I didn't like the colour enough, so I have started to repaint them.


I used Tamiya Gun Metal and Tamiya Black, mixing them on the brush - a cheap brush. I want the track plates to look slightly different colours - some darker, some lighter - so I didn't mix up a big batch of paint. I want the non-uniformity.


After these have dried they will be getting several washes with different brown mud colours. And when those have dried I will see how I feel about them; maybe add some mud, maybe add a lot of mud!

Monday, September 16, 2013

Update on Why No Updates!

We had another baby boy born about 3 months ago which, as any father can tell you, puts a lot of demands on a couple. Income is cut because mother is on maternity leave, so father has to work a bit more to make up the money. Available time for making models is cut to zero, for obvious reasons.

Hence, no updates.

One day, sooner or later, I'll start doing modelmaking stuff again. In the mean time I'm enjoying being a dad.

Tuesday, June 25, 2013

Painting Tracks

I was confined to quarters this morning and I looked over and saw my models abandoned months ago. Thought I'd do a bit of painting and thought I'd paint the tracks. I decided to start on the underside as I haven't done anything for months and I find it takes me a while to get my eye in.

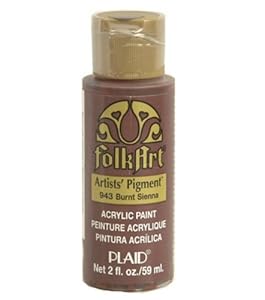
I was trying to find a good rust colour and rejected Revell 83 in favour of this, generic Burnt Sienna. The Revell paint would have needed a special thinner and brush cleaner, whereas this one washes off with water.


The paint is years old, so it is thick and goopy and fills a lot of the holes as it paints. After the rust colour, I'll use a Gun Metal colour or a dark, steel grey, and after that I'll very sparingly highlight with silver.


I quite like the colour, but even if I didn't not much of it will be visible once I've added the other layers of paint.

Sunday, March 3, 2013

British in Gas Masks by Strelets

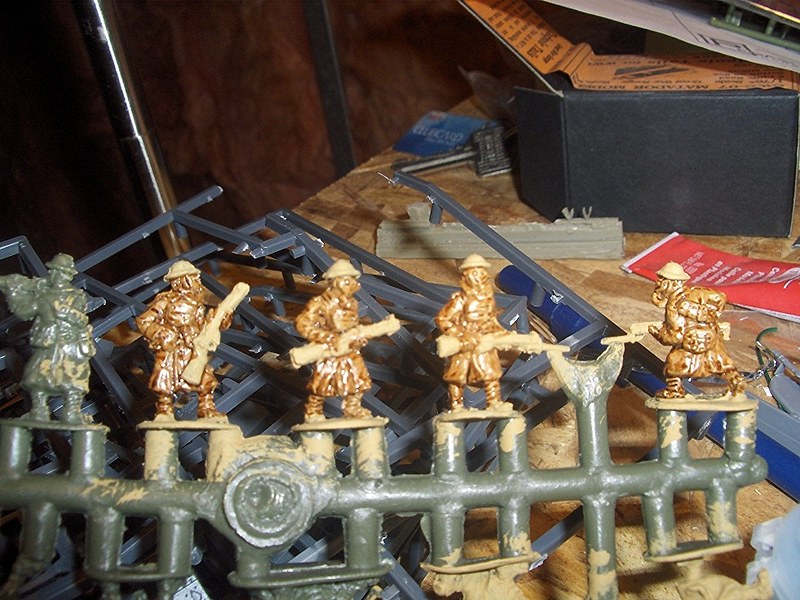
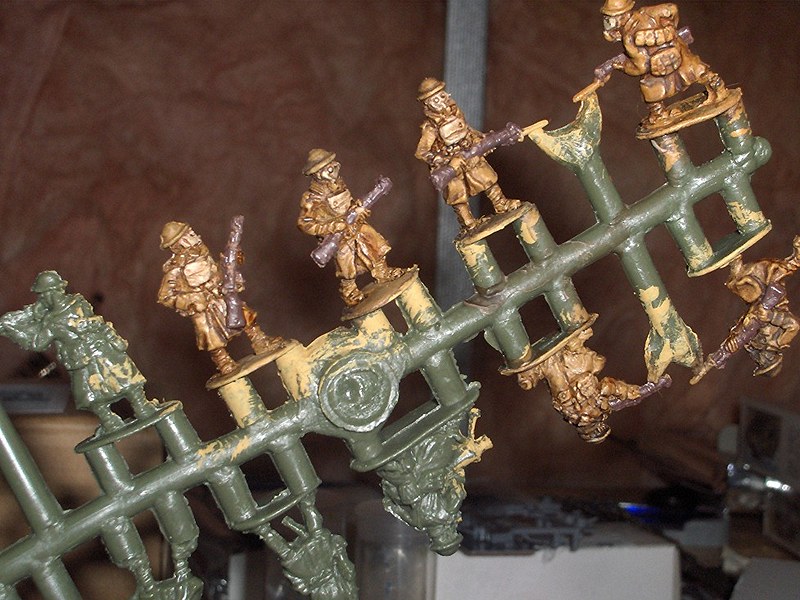
I was just passing the time, in my little room, and I ended up putting some paint on these


I used a very big brush and covered them with Reaper Master Series Green Ochre, that took about 5 minutes. Then I gave them a heavy brushing with some Sepia ink that I found in a box in my basement, that took about 5 minutes as well. Not bad for 10 minutes' work.

I don't usually paint figures, or perhaps I should say I haven't painted many figures. These probably bring my total up to about 12. I think the uniform is a good colour, but it looks as though the ink is going to stay glossy. I will try to fix that with some matte varnish.

Two weeks later...


The sepia ink didn't dry so I brushed over it with a brown wash. I made a start on the rifles but I don't like the colour I've used.

I have to say, I've made almost no effort to try to paint well with these figures. I didn't much like them and I was painting them in between other projects to see what various colours looked like. But they have grown on me. They're not the prettiest of figures, but they do have a certain charm.